Last updated: June 2026
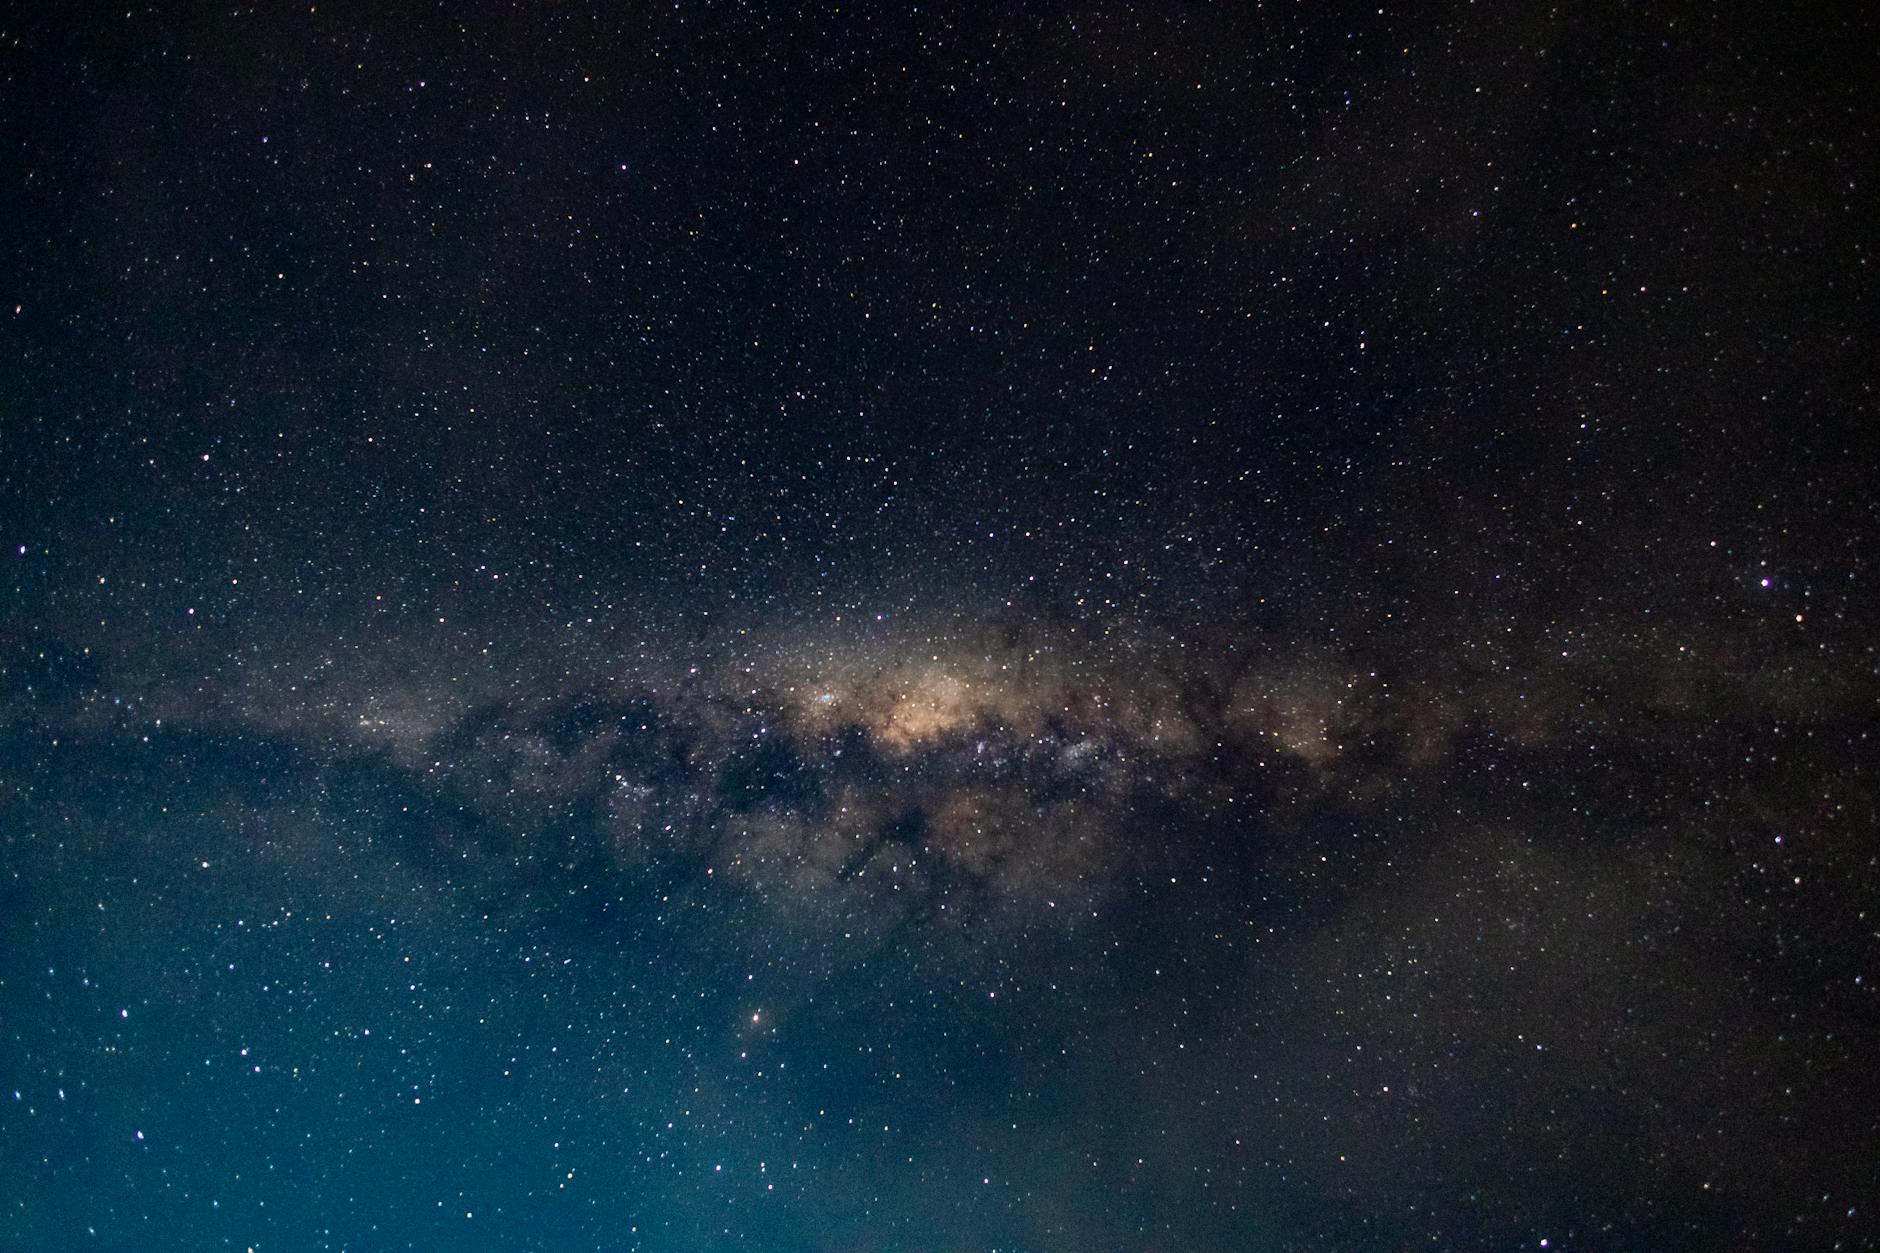
When the sun drops behind Mount Kenya and the plateau falls into darkness, a whole second safari begins — and a whole second world of photography opens up. The night sky over Laikipia, far from any city light, is staggering: the Milky Way arcs overhead, the stars are almost too many to believe, and nocturnal animals emerge that you’d never see by day. Night photography is technical and challenging, but the images — a starlit landscape, a leopard’s eyes glinting in the dark, the Milky Way over an acacia — are among the most magical you can make on safari. This guide to night photography on safari covers how to capture Laikipia after dark, from astrophotography to nocturnal wildlife.
It’s the most technically demanding photography you’ll attempt on safari, but also potentially the most rewarding. Here’s how to do it.
Two Kinds of Night Photography
Night photography on safari splits into two quite different disciplines, each with its own techniques. The first is astrophotography and night landscapes — capturing the stars, the Milky Way, and the dark, silhouetted scenery, usually from a fixed position like a camp or a star bed, with a tripod and long exposures. The second is nocturnal wildlife photography — capturing the animals that emerge after dark, typically on a night game drive using a spotlight, which is fast, opportunistic and difficult. They demand different gear and settings, so it helps to know which you’re attempting on a given night. We’ll cover both.
Why Laikipia Is Superb for Night Skies
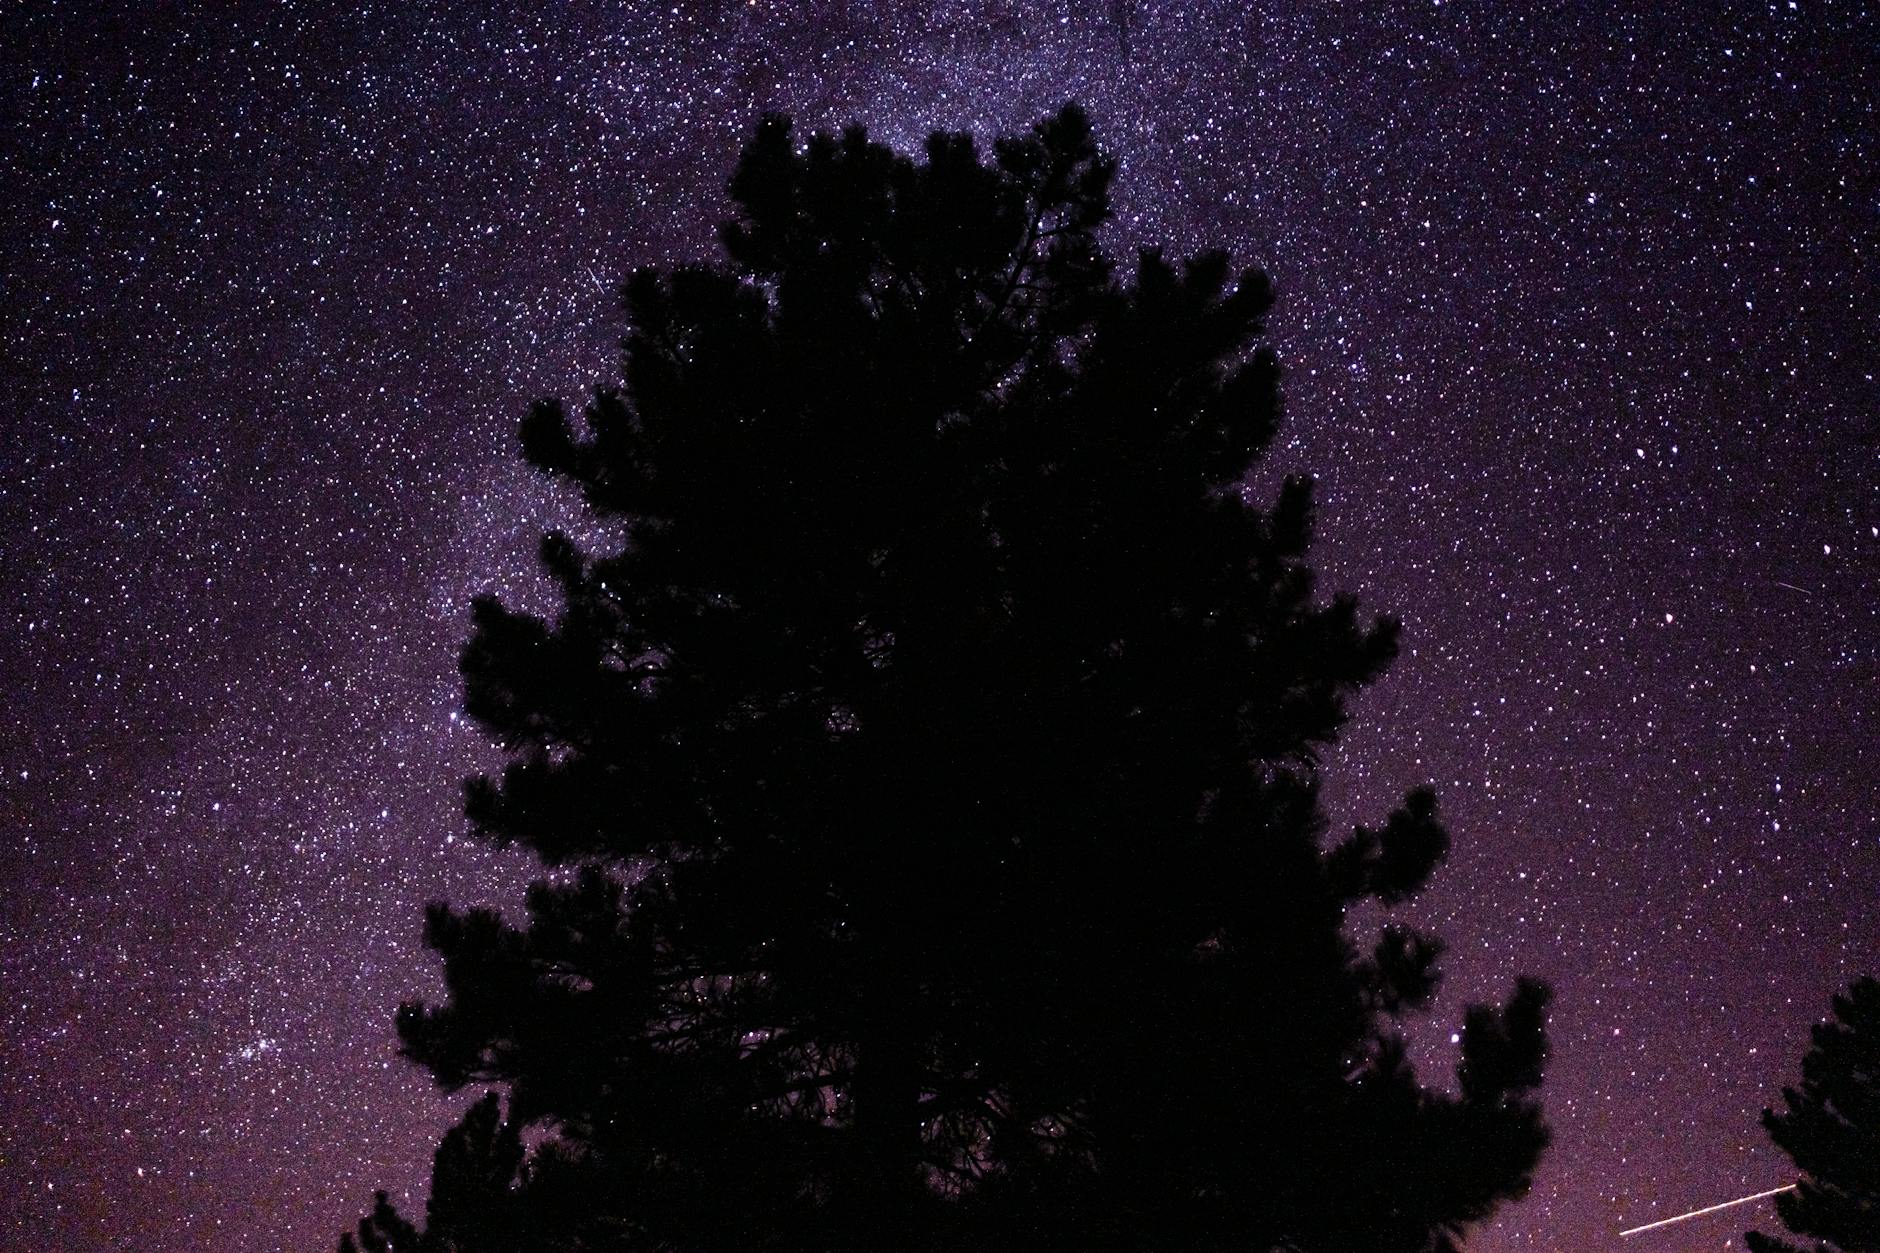
Laikipia is one of the best places imaginable for astrophotography, for one simple reason: darkness. Far from the light pollution of cities, the conservancies sit under genuinely dark skies, where the Milky Way is vividly visible to the naked eye and the stars blaze in numbers most visitors have never seen. Add the dramatic foregrounds — lone acacias, rocky kopjes, the silhouette of Mount Kenya, a tented camp glowing in the dark — and you have astrophotography settings as good as anywhere on Earth. The high altitude and dry-season clear skies further sharpen the view. Sleeping out under this sky on a star bed is one of Laikipia’s signature experiences, and a gift for the night photographer.
Astrophotography: The Basics
Capturing the stars requires a few specific things. You need a tripod (non-negotiable — exposures are seconds long), a camera that performs well at high ISO, and a wide, fast lens (a wide angle at f/2.8 or wider is ideal). The classic starting settings: a wide aperture (lowest f-number), a high ISO (3200 or higher), and a long shutter speed — but not too long, or the stars blur into trails as the Earth rotates. The “500 rule” (500 divided by your focal length gives the maximum seconds before star trails appear) is a useful starting guide, so with a 20mm lens, around 25 seconds. Focus manually on infinity (autofocus fails in the dark), include an interesting silhouetted foreground, shoot RAW, and use a timer or remote to avoid shake. Experiment, review and adjust — astrophotography is iterative.
Photographing Nocturnal Wildlife
Capturing animals at night, usually on a night drive, is harder and more opportunistic. The scene is lit by a spotlight (often a red-filtered one, kinder to animals’ eyes), which is dim and contrasty, so you’ll need a high ISO, your widest aperture, and as steady a hold as possible — brace on a bean bag or the vehicle. Focus is tricky in the dark; aim for the eyes, which often catch the light and glow. Expect grain and a lower hit rate than daytime — night wildlife photography is genuinely difficult, and some of the best “shots” are simply experiences to enjoy rather than capture. Never ask for a spotlight to be held on an animal longer than the guide permits; the animals’ welfare comes first. Treat any sharp nocturnal image as a hard-won prize.
Camp and Campfire Photography
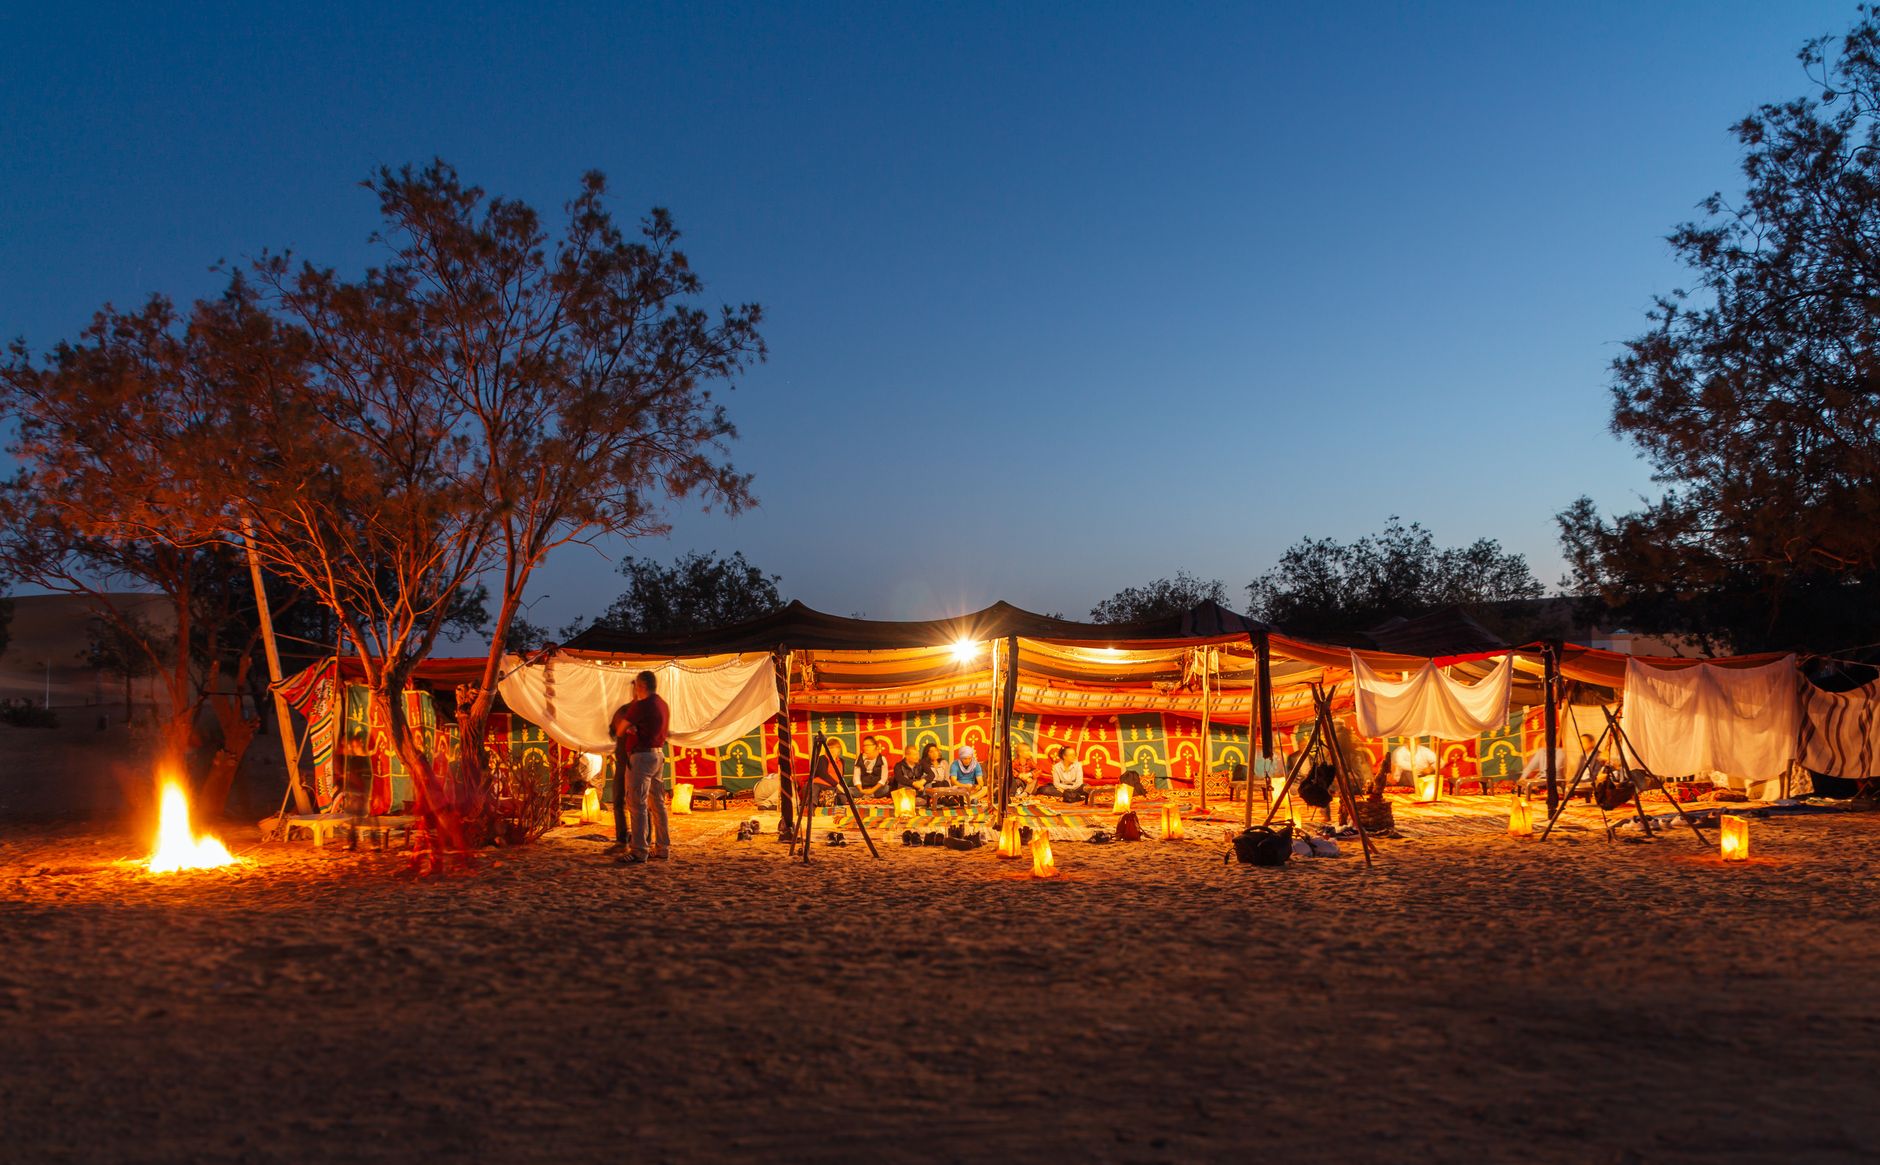
Not all night photography is about stars or wildlife — some of the most atmospheric images are of camp life after dark. A tent or lodge glowing warmly against the deep blue dusk, lanterns lining a path, a campfire with sparks rising and faces lit in its glow, a bush dinner under the stars — these tell the story of a safari beautifully. They’re also more forgiving than astro or wildlife: the warm artificial light gives you something to expose for. Use a tripod or steady surface, a moderate ISO, and expose for the glow while letting the surroundings fall dark. The “blue hour” just after sunset, when the sky still holds deep colour but the lights are on, is the magic window for these shots. Don’t overlook them — they’re often the most evocative night images of all.
Essential Gear for Night Photography
Night work demands a little specific kit beyond your daytime setup. A sturdy tripod is the single most important addition — essential for stars, landscapes and campfire shots. A wide, fast lens helps for astro. A head-torch (ideally with a red light to preserve night vision and not disturb others or wildlife) keeps your hands free. A remote release or your camera’s timer avoids shake on long exposures. Spare batteries are vital, as long exposures and cold nights drain them fast. And know your camera’s controls by feel, because you’ll be operating in the dark. A camera with strong high-ISO performance makes everything easier. With this kit, the Laikipia night becomes a playground.
Tips for Success After Dark
A few hard-won habits improve your night photography enormously. Scout and compose in daylight where you can, so you know your foreground before dark. Arrive early for astro to let your eyes adjust and to catch the blue hour. Shoot RAW always — night images need editing latitude. Take test shots and review the histogram, adjusting ISO and exposure. Be patient and experimental; night photography is trial and error. Dress warmly — Laikipia nights are cold at altitude. Respect others’ night vision and the wildlife (minimal, considerate light). And don’t forget to put the camera down sometimes and simply lie back and look up — the Laikipia night sky is one of the great sights of the natural world, camera or no camera. Pair a night-photography session with a star bed stay for the ultimate experience.
Light Painting and Creative Night Techniques
Once you’ve mastered the basics of stars and nocturnal wildlife, the Laikipia night opens up to creative techniques. Light painting — using a torch to selectively illuminate a foreground subject like a lone tree or a tent during a long exposure — adds drama and depth to night landscapes, letting you balance a lit foreground against the starry sky. Star trails, made by combining many long exposures or shooting one very long one, turn the night sky into circular streaks around the celestial pole, a striking alternative to pin-sharp stars. Silhouettes of acacias or Mount Kenya against the Milky Way are simpler but endlessly effective. These techniques reward experimentation and patience, and the dark, clear Laikipia skies are the perfect canvas. Don’t be afraid to try and fail — night photography is iterative, and the occasional spectacular result makes the experiments worthwhile.
The Moon and Its Phases
The moon is the night photographer’s most important variable, and planning around it transforms your results. For astrophotography — stars and the Milky Way — you want the darkest skies, so shoot around the new moon when the moon is absent and the stars blaze brightest. For lit landscapes, by contrast, a bright moon acts as a beautiful natural floodlight, illuminating the scenery silver-blue and allowing detailed nightscapes without artificial light. A full moon can even light a moonlit safari scene. So check the moon phase before your trip if night photography matters: new moon for stars, fuller moon for moonlit landscapes. Either offers something special, but they suit different images, and knowing which you’ll have lets you plan the right shots. Your lodge can tell you the moon phase for your dates.
Combining Night Photography with a Star Bed Stay
For the ultimate night-photography experience, combine it with a night under the stars on a star bed — a bed rolled out under the open sky on a deck or platform, one of Laikipia’s signature experiences. You’ll have the dark sky above you all night, the perfect setting to shoot the stars at your leisure, capture the Milky Way over the landscape, and simply lie back and absorb the spectacle between frames. Set up your tripod beside the bed, and you can shoot and sleep in turns under the same magnificent canopy. It’s photography and pure wonder combined, and it ranks among the most memorable nights a Laikipia safari can offer. Pair it with a night drive earlier in the evening for both nocturnal wildlife and astrophotography in a single night.
Editing Night Images
Night photographs, more than any other, come alive in editing — the RAW files hold detail your eye and screen don’t immediately reveal. For astro shots, gentle adjustments bring out the Milky Way: lifting shadows, increasing contrast and clarity to define the stars, careful noise reduction to clean up high-ISO grain, and white-balance tuning to render the sky a natural blue rather than orange. For lit landscapes and campfire scenes, balance the warm artificial light against the dark surroundings. The key, as always, is restraint — enhance the magic that was there rather than inventing it. Shooting RAW is essential for this latitude. A thoughtful edit is what turns a promising but flat night capture into the jaw-dropping starscape that does justice to the Laikipia sky. It’s the final, rewarding step in night photography.
Staying Warm, Safe and Patient
Practicalities make or break a night shoot. Laikipia nights are genuinely cold at altitude, so dress in warm layers — you’ll be standing still for long exposures, which chills you fast. Keep spare batteries warm in a pocket, as cold drains them. Use a red head-torch to preserve your night vision and avoid disturbing wildlife and other guests. Always do night wildlife work within your guide’s rules and the conservancy’s protocols, keeping light and disturbance minimal. And bring patience above all — night photography is slow, iterative work of test shots and adjustments, rewarded by the occasional stunning frame. Set realistic expectations, enjoy the process and the extraordinary sky, and treat each keeper as the hard-won prize it is. The Laikipia night rewards those who prepare and persist.
The Bottom Line on Night Photography
Night photography is the most technically demanding but potentially most magical photography you’ll attempt in Laikipia, and the plateau’s dark, clear skies make it world-class. Master the two disciplines — astrophotography from a fixed tripod, and opportunistic spotlit wildlife — bring the right kit (tripod, fast wide lens, warm clothes, spare batteries, red torch), plan around the moon, and approach it with patience and respect for the wildlife. Combine a session with a star bed stay for the ultimate experience, edit your RAW files thoughtfully, and you’ll capture images — the Milky Way over an acacia, a leopard’s eyes in the dark, a tent glowing beneath the stars — that few travellers attempt and fewer achieve. Pair this with our guides to night safaris, star beds and the complete wildlife photography guide.
Night Photography for Beginners
If you’re new to night photography, don’t be intimidated — start simple and build up. Begin with the most forgiving subjects: camp and campfire scenes at the blue hour, where warm light gives you something to expose for and exposures are short. Then try a basic starry-sky shot with your camera on any steady surface, using a high ISO, wide aperture and a 15–25 second exposure, and review the result. Each success builds confidence for the more ambitious astro and creative techniques. You don’t need the most expensive gear — a basic tripod, a kit wide lens and a camera with reasonable high-ISO performance will get you started, and Laikipia’s dark skies do much of the work. The plateau is one of the best places anywhere to learn, so embrace the chance and experiment without pressure.
Do you need special equipment for night photography on safari?
A sturdy tripod is the one essential for stars, landscapes and campfire shots, along with a camera with good high-ISO performance and ideally a wide, fast lens. Add a head-torch (red light preferred), spare batteries and warm clothing. For spotlit wildlife from a vehicle you brace on a bean bag instead of a tripod. Modern phones with night mode can also capture the stars.
Frequently Asked Questions
When is the best time for astrophotography in Laikipia?
Around the new moon, when the sky is darkest and the Milky Way blazes brightest, ideally during the clear, dry-season months. A bright moon, by contrast, is great for moonlit-landscape shots but washes out the stars. Check the moon phase for your dates and plan accordingly — new moon for stars, fuller moon for moonlit nightscapes.
Can you photograph the Milky Way in Laikipia?
Yes — superbly. Far from light pollution and at high altitude with clear dry-season skies, Laikipia offers some of the best Milky Way photography anywhere. With a tripod, a wide fast lens, a high ISO and a 15–25 second exposure around the new moon, you can capture the galaxy arcing over an acacia or Mount Kenya — especially memorable from a star bed.
Is Laikipia good for astrophotography?
Exceptionally. Far from city light pollution, the conservancies have genuinely dark skies where the Milky Way is vividly visible, and dramatic foregrounds like acacias, kopjes and Mount Kenya complete the scene. High altitude and clear dry-season skies make it one of the best astrophotography destinations anywhere — especially from a star bed.
What settings do I need for star photography on safari?
A tripod, a wide fast lens (f/2.8 or wider), a high ISO (3200+), and a long shutter speed kept short enough to avoid star trails — use the “500 rule” (500 ÷ focal length = max seconds). Focus manually on infinity, shoot RAW, include a silhouetted foreground, and use a timer or remote to avoid shake.
Can you photograph animals at night on safari?
Yes, usually on a night game drive lit by a spotlight, but it’s difficult — the dim, contrasty light requires high ISO, a wide aperture and steady bracing, and the hit rate is lower than by day. Aim for the eyes, which catch the light. Always prioritise the animals’ welfare over the shot.
Do I need a tripod for night safari photography?
For astrophotography, night landscapes and campfire shots, yes — a sturdy tripod is essential because exposures run to many seconds. For spotlit wildlife from a moving vehicle a tripod isn’t practical, so brace on a bean bag or the vehicle instead. A tripod is the single most important addition for fixed-position night work.
What is the best time for night photography in Laikipia?
The blue hour just after sunset is magic for camp and landscape shots, while true astrophotography needs full darkness, ideally around a new moon when the sky is darkest. The clear, dry-season nights offer the best star visibility. Dress warmly, as Laikipia nights are cold at altitude.
Capture the magic after dark. Pair this with our guides to night safaris, star beds, and the complete Laikipia wildlife photography guide.