Last updated: June 2026
There’s a particular heartbreak known to every safari traveller: you finally see the leopard, you lift your camera, and the photo comes out a soft, distant, grainy disappointment that looks nothing like the magic you witnessed. The difference between that and a frame-worthy image usually comes down to gear — having the right kit, and knowing how to use it. Laikipia is one of the great wildlife-photography destinations on Earth, with extraordinary light, rare species and the freedom of private conservancies, and it deserves to be photographed well. This safari camera gear guide covers exactly what to bring — bodies, lenses, supports, accessories and protection — whether you’re a serious enthusiast or simply want better holiday shots.
I’ll give honest, practical advice rather than just listing the most expensive options. The best gear is the gear you’ll actually use well, that fits your budget, and that survives the dust — so let’s build your kit from the ground up.
The Single Most Important Decision: The Lens
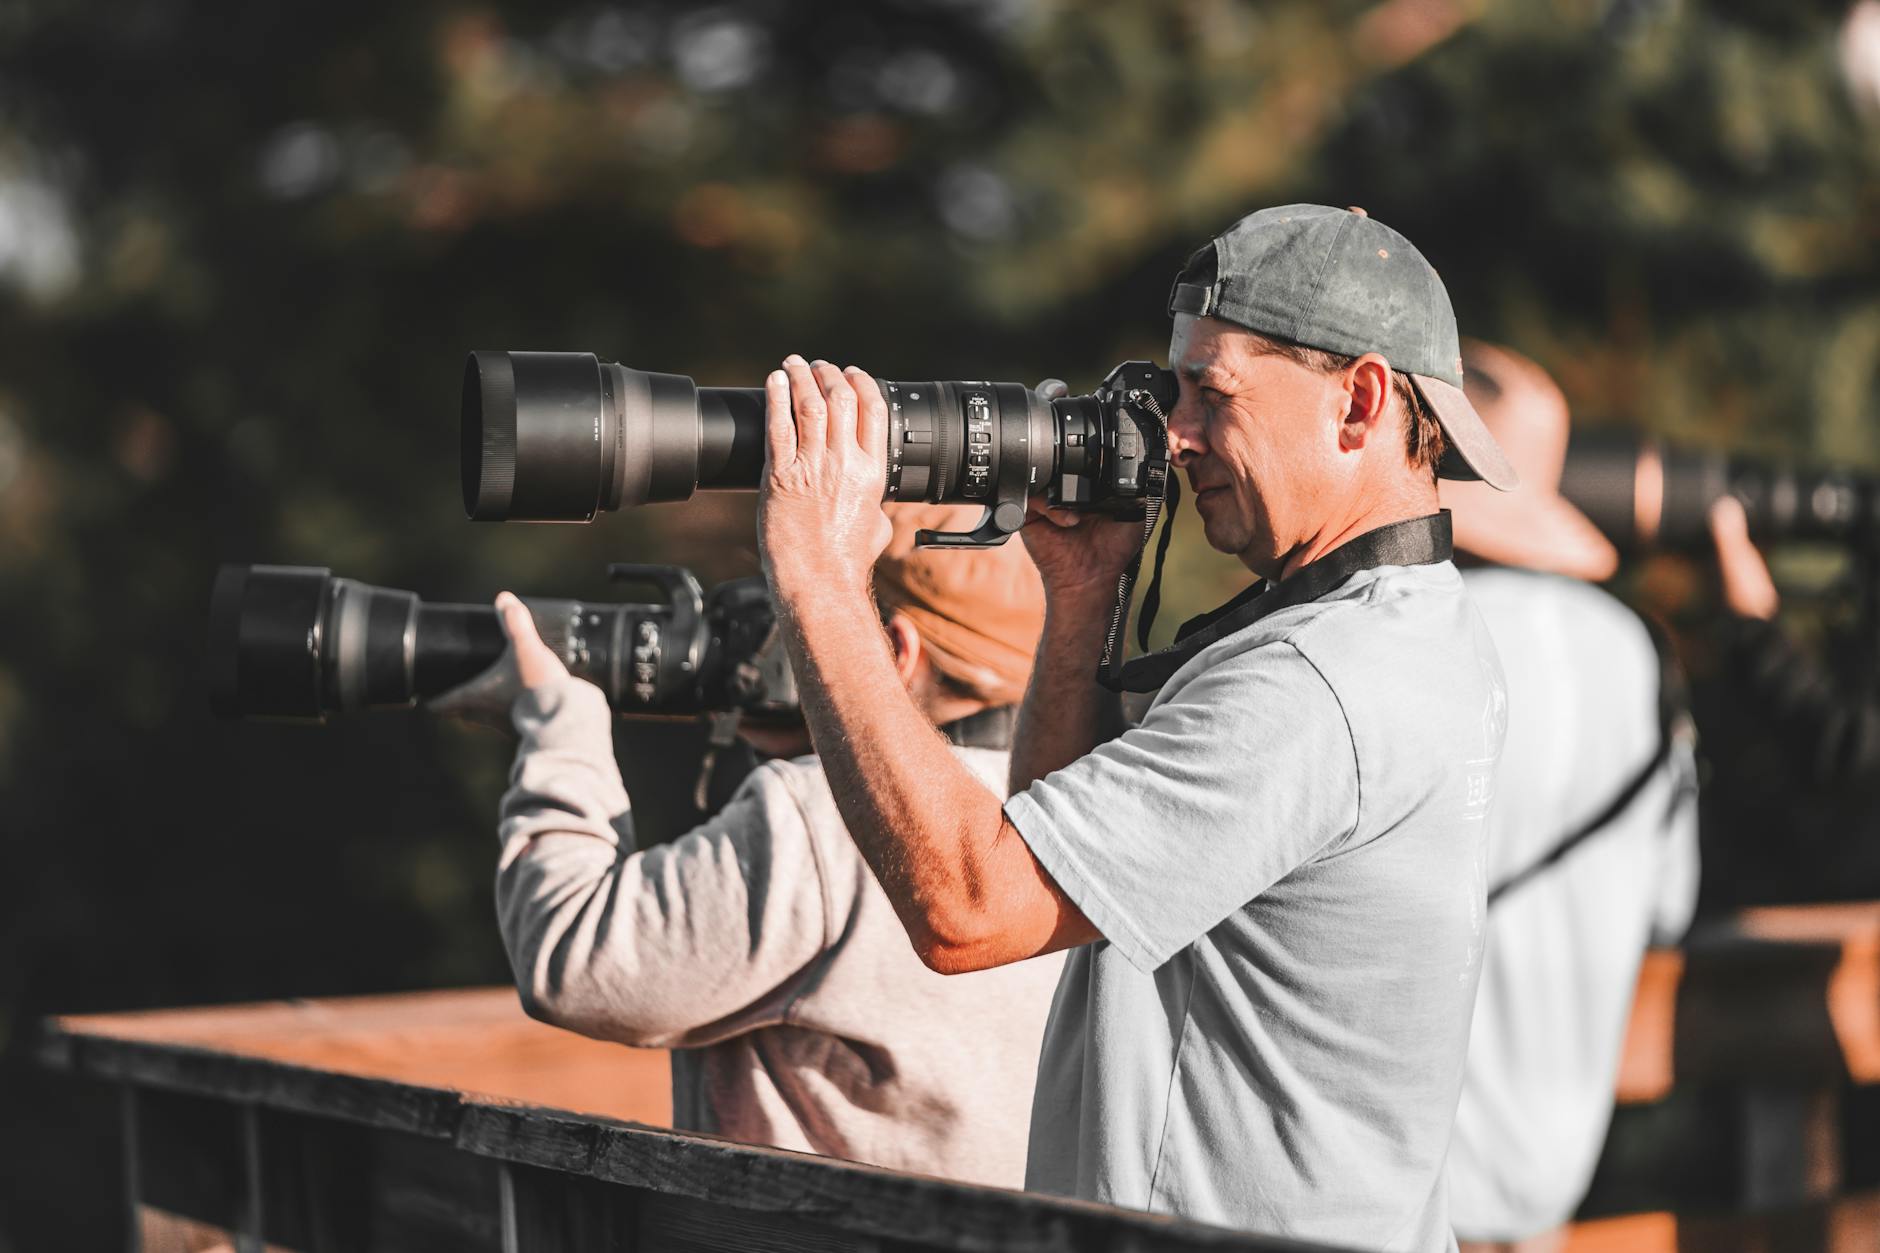
If you take one thing from this guide, make it this: on safari, the lens matters far more than the camera body. Wildlife is often far away, and reach — focal length — is everything. A long telephoto lens, ideally reaching at least 300mm and preferably 400mm or beyond, is what separates frame-filling wildlife portraits from tiny specks in a sea of bush. A versatile telephoto zoom (something like a 100–400mm or 150–600mm) is the single most useful safari lens, giving you flexibility to frame everything from a whole elephant herd to a lone bird. If you invest in one piece of kit, invest here. Pair this guide with our Laikipia wildlife photography pillar for the bigger picture.
Camera Bodies: DSLR vs Mirrorless
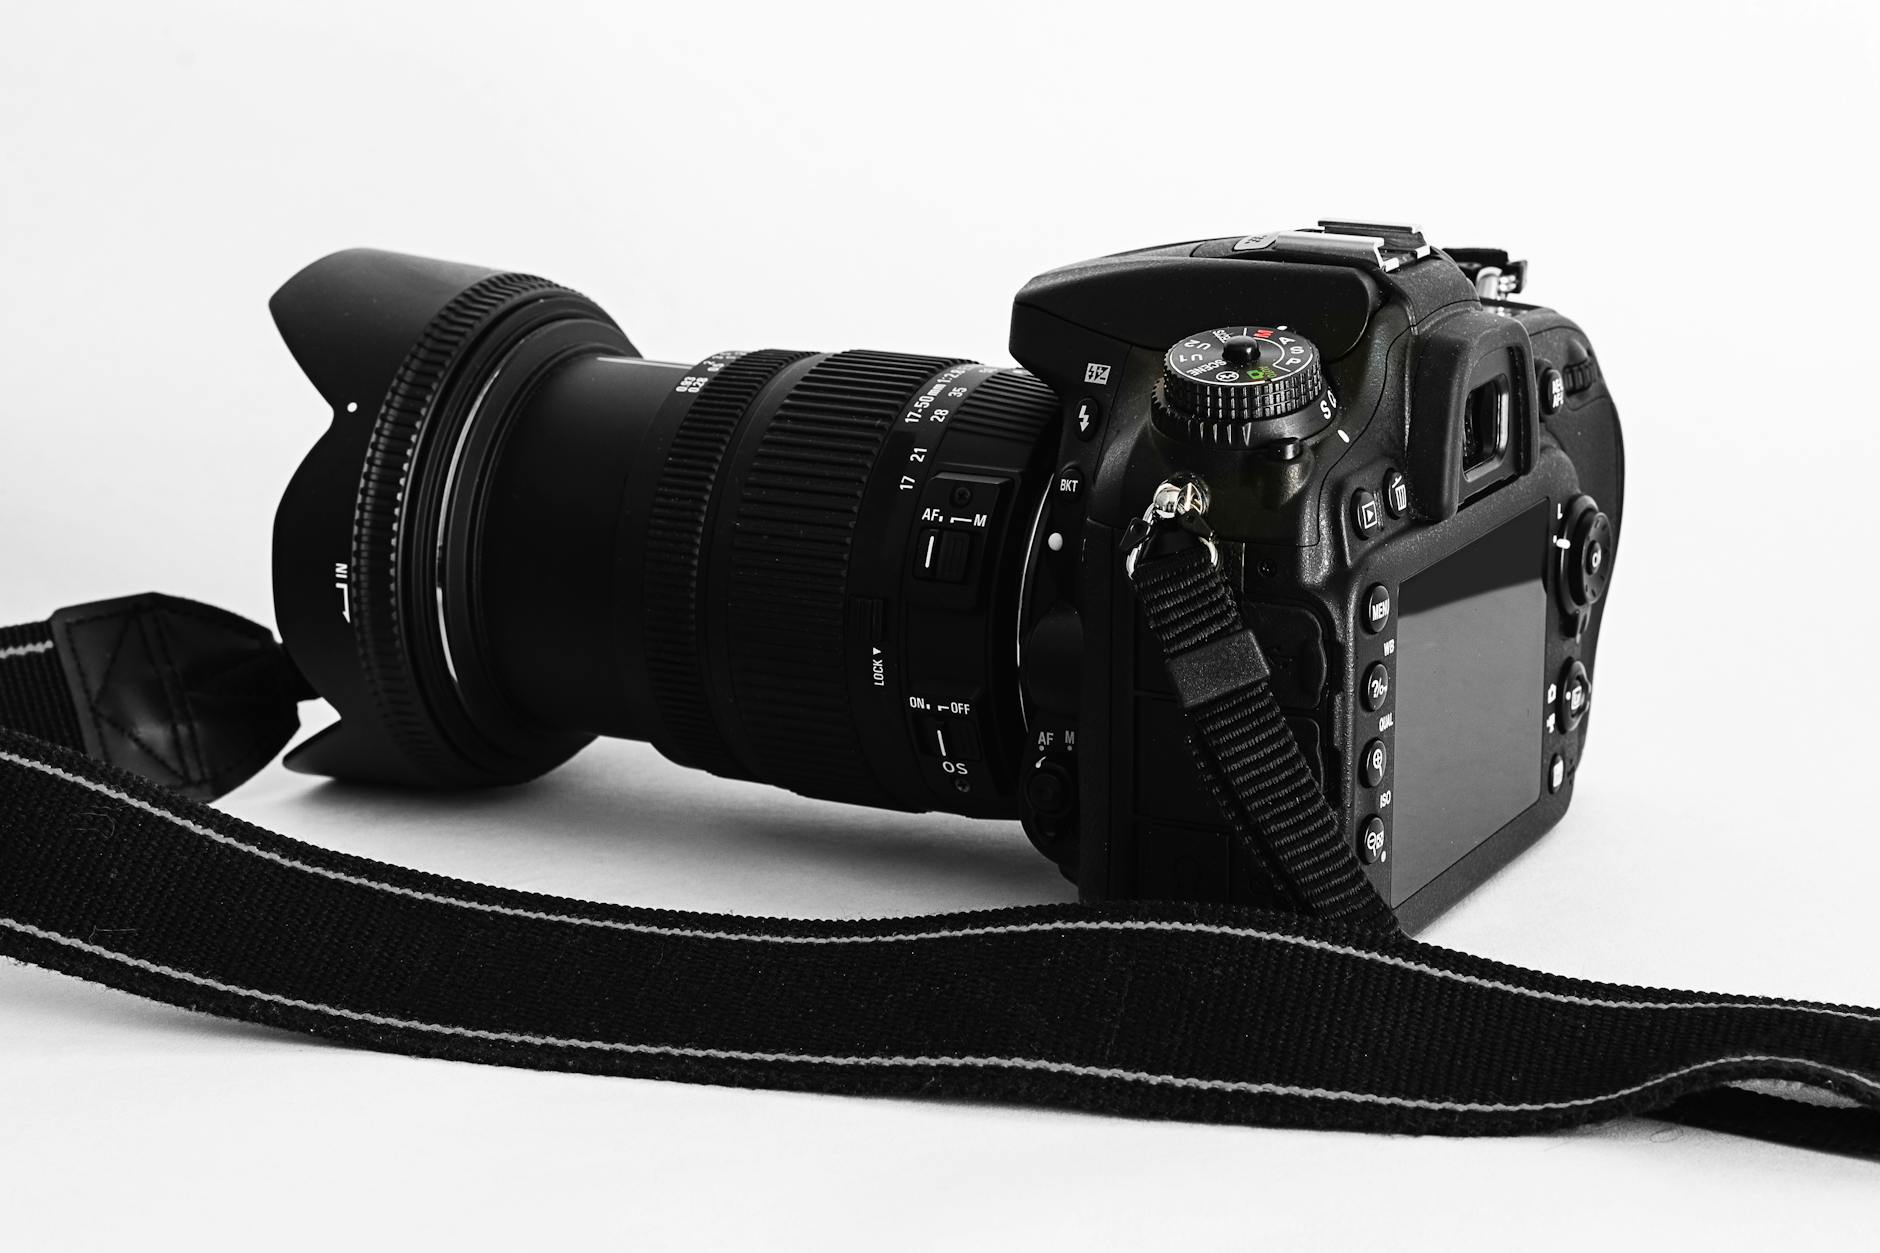
The body matters less than the lens, but it’s still worth getting right. Both DSLR and mirrorless cameras take superb safari images; mirrorless is now the direction of travel, offering excellent autofocus (including animal- and eye-detection), silent shooting and lighter weight, while DSLRs remain capable and often cheaper second-hand. What matters more than the type is fast, accurate autofocus and good high-ISO performance (for low light at dawn and dusk). A camera with a fast continuous shooting (burst) mode helps enormously for action. Don’t feel you need the newest flagship — a mid-range modern body with a great lens beats a top body with a mediocre lens every time. If budget allows, a second body saves swapping lenses in the dust.
How Much Zoom Do You Really Need?
Reach is king, but there’s nuance. For most Laikipia wildlife, a lens reaching 400mm covers the great majority of situations beautifully. Reaching 500–600mm helps for birds and skittish or distant animals, and the famously distant or small subjects. But longer lenses are heavier, pricier and harder to hold steady, so there’s a trade-off. A practical sweet spot for many travellers is a 100–400mm or 150–600mm zoom: enough reach for almost everything, flexible framing, and manageable weight. Crucially, because Laikipia’s private conservancies often allow vehicles to approach more closely and go off-road, you may not need quite as much reach here as in the crowded national parks — a genuine advantage for photographers.
A Second, Wider Lens
Don’t pack only the telephoto. A wider lens — a standard zoom (such as 24–70mm or 24–105mm) — is invaluable for the scenes that make a safari story complete: sweeping landscapes, Mount Kenya at dawn, the lodge, sundowners, environmental shots showing an animal in its habitat, and the people and culture you encounter. Some of the most evocative safari images aren’t tight animal portraits at all but wide scenes of wildlife dwarfed by the vast plateau. Having a wider lens ready (ideally on a second body to avoid swapping in the dust) means you won’t miss these. A mid-range zoom plus a telephoto is the classic, complete two-lens safari kit.
Camera Support: Bean Bags and Tripods
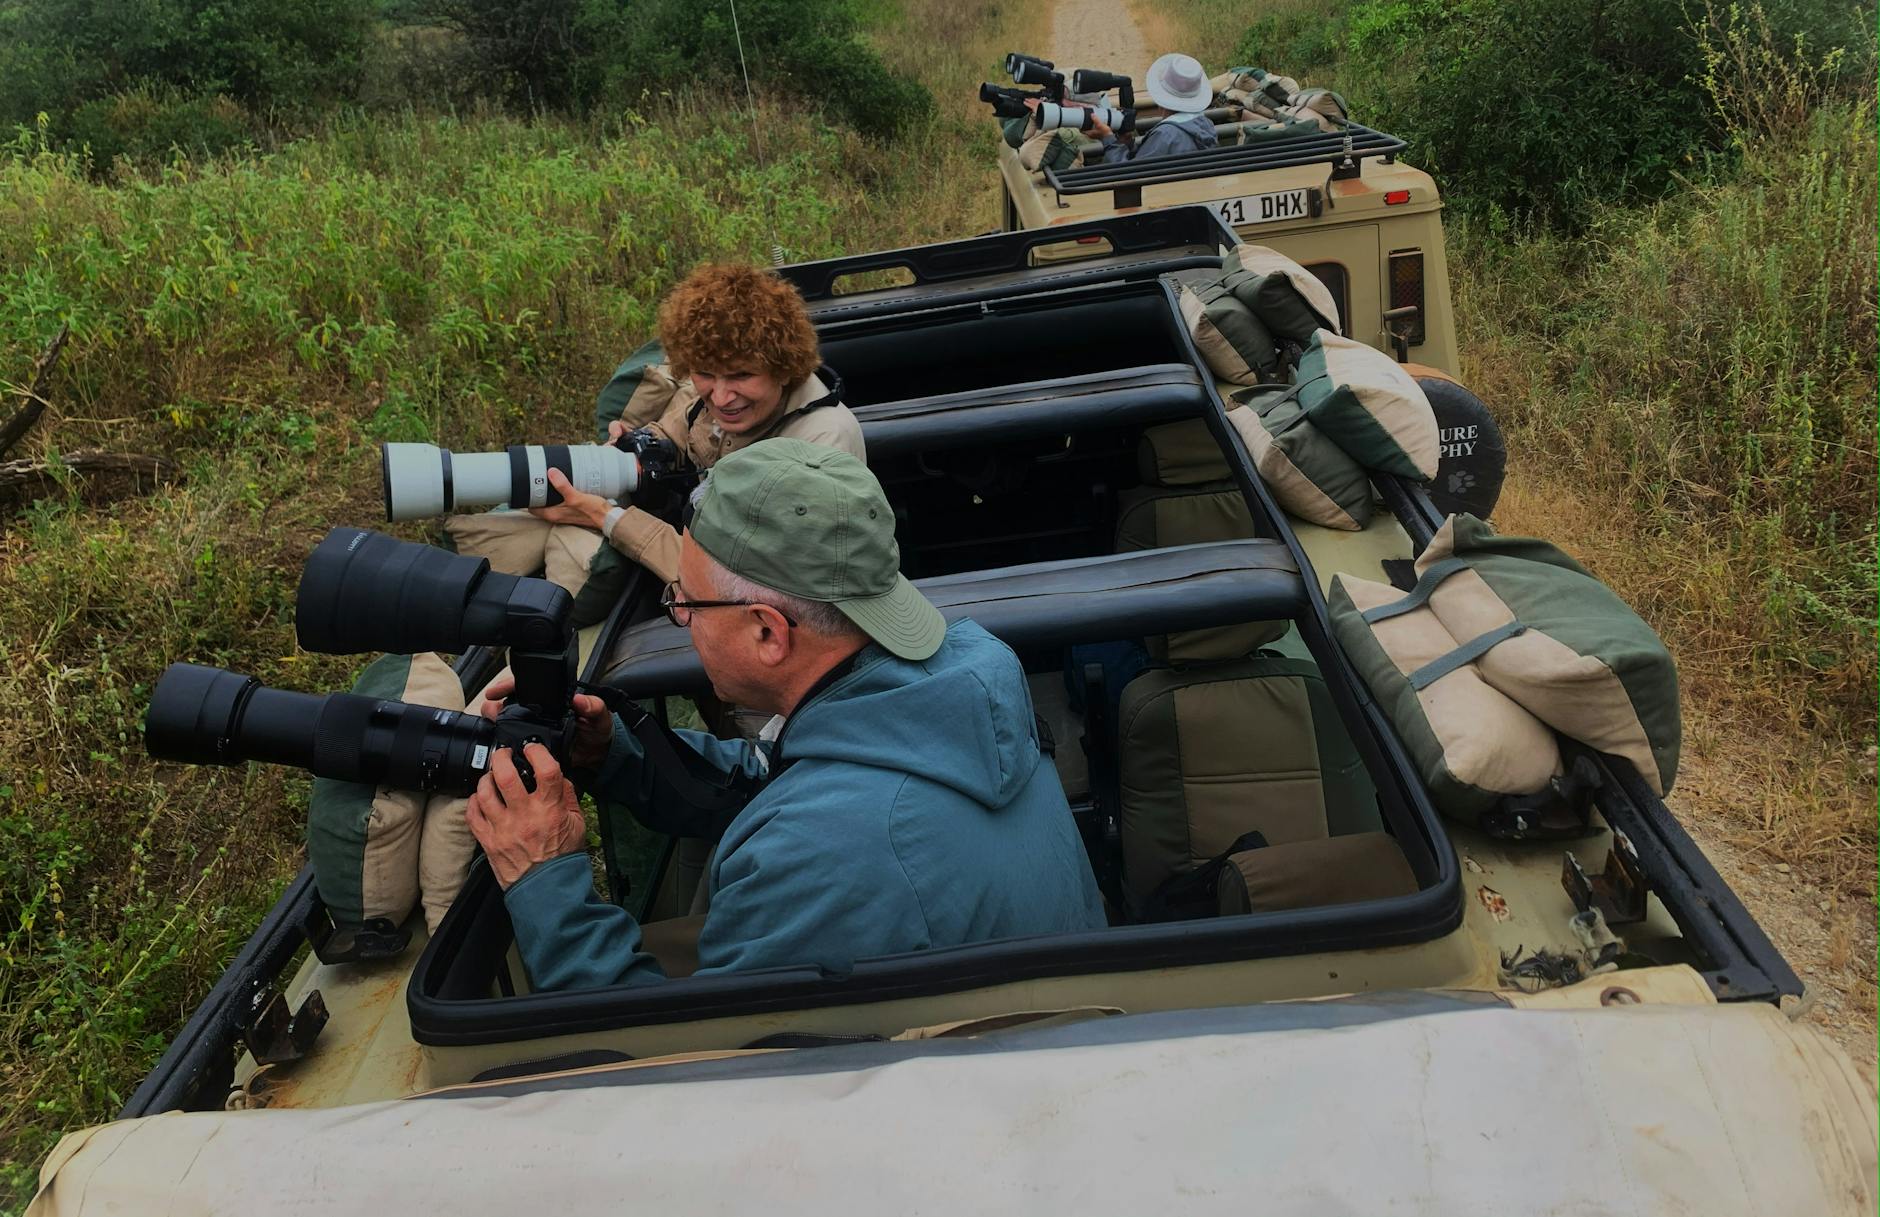
Long lenses need steadying, and in a safari vehicle a tripod is usually impractical. The safari photographer’s secret weapon is the bean bag — a simple fabric bag (often filled with rice or beans on arrival) draped over the vehicle’s window edge or roof hatch, onto which you rest your lens for rock-steady support. It’s cheap, effective and travels empty. A monopod can help on walking safaris or at hides, and a proper tripod is essential for night and astrophotography. But for vehicle-based game drives, a bean bag is the single most useful, most overlooked piece of support kit — bring or arrange one.
Memory Cards, Batteries and Storage
Nothing ends a photographer’s safari faster than running out of card space or battery. Bring more memory than you think you need — wildlife photography, especially in burst mode, devours storage, and you’ll shoot far more than expected. Pack several high-capacity, fast cards rather than one huge one (so a single failure isn’t catastrophic). Bring spare batteries — at least two or three — because cold dawns drain them and charging is limited at remote camps. Add a means of backing up: a laptop, tablet or portable storage device to offload cards each evening, protecting your images against card failure or loss. A power bank keeps everything alive on long days out, and don’t forget the right charger and a universal adaptor (Kenya uses UK-style plugs), as covered in our packing list.
Protecting Your Gear from Dust
Laikipia in the dry season is dusty — fine, pervasive, equipment-loving dust — and protecting your kit is essential. Keep cameras in sealed bags or a dedicated dust-proof camera bag when not shooting, avoid changing lenses in the open where possible (another argument for two bodies), and carry a blower, lens cloths and cleaning kit. A rain cover doubles as dust protection and is worth having for the green season too. At day’s end, gently clean your gear. A little care keeps dust out of your sensor and your images spot-free — neglect it and you’ll spend the trip battling dust spots on every frame.
Binoculars: The Forgotten Essential
It’s not a camera, but every wildlife photographer should pack binoculars. They let you spot, identify and assess animals before raising the camera, help you read behaviour to anticipate the shot, and simply let you enjoy the wildlife with both eyes when you’re not shooting. A decent pair transforms the whole experience and makes you a better photographer by helping you see more. Don’t rely on your long lens as a “monocular” — it’s tiring and you’ll miss things. Bring binoculars; they’re among the most valuable items in any safari bag, photographer or not.
Gear for Different Budgets
Great safari photography isn’t only for those with deep pockets. On a budget, a mid-range camera (even a “superzoom” bridge camera with huge built-in reach) or a modest DSLR/mirrorless with a 100–400mm zoom delivers excellent results. In the mid-range, a capable modern body with a quality telephoto zoom and a standard zoom is the sweet spot most enthusiasts land on. At the high end, a flagship body, fast prime or pro telephoto, and a second body unlock the very best. But honestly, the gap between mid-range and pro kit matters far less than technique and being in the right place at the right time — which is what the rest of our photography guides cover, starting with camera settings and techniques.
Renting vs Buying Gear
If you don’t already own a serious telephoto — or you’re not sure safari photography will become a lasting hobby — renting is a smart option. Camera shops and online services in many countries rent professional bodies and long lenses by the week, often for a fraction of the purchase price, letting you take a pro-grade 100–400mm or 150–600mm to Laikipia without committing thousands to buy. It’s also a great way to try before you buy, or to access higher-end kit than you own for a once-in-a-lifetime trip. The trade-offs are the need to book ahead, insure the rental, and familiarise yourself with unfamiliar gear before you travel — never learn a rented camera on day one of safari. For occasional safari-goers, renting the big lens and using your own body is often the sweet spot.
If you do buy, consider the second-hand market for excellent value, and remember that a slightly older body paired with a great lens outperforms the newest body with a kit lens every time. Spend where it counts: the glass.
A Sample Kit by Photographer Type
To make it concrete, here’s what different travellers might bring. The casual holiday photographer: a single superzoom bridge camera or a mirrorless body with one 18–300mm-style do-it-all lens — light, simple, capable. The keen enthusiast: a mid-range body, a 100–400mm telephoto zoom, a 24–105mm standard zoom, a bean bag and spare batteries — the classic complete kit. The serious or professional photographer: two bodies (so no lens-swapping in dust), a pro telephoto (a 500mm or 100–500mm), a fast standard zoom, a wide for landscapes and astro, a tripod, and ample storage and backup. Match the kit to your ambition and how much you want to carry — there’s a viable setup at every level, and more gear is not always better.
Accessories That Earn Their Place
Beyond bodies and lenses, a handful of small items punch above their weight. A bean bag (the safari support essential). A blower and lens cloths for the relentless dust. Spare batteries and a power bank. Plenty of fast memory cards and a backup device. A rain cover (dust and wet protection). A head-torch for early starts and night shoots. And, crucially, binoculars for spotting and enjoying wildlife. Resist the temptation to over-pack gadgets you won’t use; the soft-bag weight limit on safari flights rewards ruthless editing. The accessories that matter are the unglamorous ones — support, power, storage and protection — not the latest novelty.
Common Gear Mistakes to Avoid
Learn from others’ errors. The biggest is over-investing in the body and skimping on the lens — reverse that priority. Next is bringing too much, then being weighed down and overwhelmed; a focused kit you know well beats a bag of options. Others: forgetting enough memory and batteries; not protecting gear from dust; bringing brand-new kit you’ve never used (always practise first); relying on digital teleconverters or extreme zoom that degrade quality; and forgetting the bean bag and binoculars. Finally, don’t let the gear get between you and the experience — the best photographers are present and patient, not buried in equipment. Avoiding these mistakes matters more than any specific purchase.
Caring for Your Gear on Safari
A little daily care keeps everything working through the dust and bumps. Keep cameras in sealed or dust-proof bags between use, and minimise lens changes in the open. Each evening, gently blow and brush off dust, wipe the lens with a proper cloth, and check the sensor for spots (visible as dark blobs in bright skies). Keep gear out of direct sun in the vehicle, and cushion it against the jolts of rough tracks. Charge batteries and offload cards nightly. Bring everything vital in your carry-on, never checked luggage, given the small safari planes. Treat your gear well in the field and it’ll deliver clean, sharp images all trip; neglect it and dust spots and failures will plague your results.
Packing Your Gear for Safari Flights
One practical constraint shapes every photographer’s safari kit: the strict luggage limit on safari flights, typically around 15 kg in a soft bag including hand luggage. Camera gear is heavy, so plan carefully. Keep all your valuable, fragile kit — bodies, lenses, cards, batteries — in your carry-on day bag, which should be a soft, padded camera bag rather than a rigid case (hard cases aren’t allowed on the small planes). Wear your heaviest items if needed. If your kit plus clothing exceeds the limit, arrange extra baggage allowance with the airline in advance, or consider road transfers for more flexibility. Our packing list covers the limits in detail; the key for photographers is a soft, well-padded bag and ruthless editing of non-essential gear.
The Bottom Line on Gear
Strip away the marketing and the gear question comes down to a few truths: invest in the lens over the body; a telephoto reaching 400mm plus a wider zoom is the complete kit; a bean bag, spare batteries, ample storage and dust protection matter more than gadgets; binoculars are essential; and the gear you know how to use beats the gear you don’t. Whether you’re on a phone, a bridge camera or a pro setup, being in the right place at the right time with a steady hand and good light matters more than any spec sheet. Get the fundamentals right, protect your kit from the dust, and Laikipia will reward you with images to treasure. Now turn to the settings and techniques that make the gear sing.
Frequently Asked Questions
Do I need an expensive camera for a good safari photo?
No. Invest in a decent telephoto lens over an expensive body, and even a superzoom bridge camera or a mid-range mirrorless with a 100–400mm lens delivers excellent results. Technique, light and being in the right place matter far more than how much your camera cost. The best kit is the one you can use well and afford.
What camera should I take on safari?
A camera with fast, accurate autofocus, good high-ISO performance and a quick burst mode — a mid-range modern DSLR or mirrorless is ideal. The body matters less than the lens, so don’t overspend on the body at the expense of a good telephoto. Even a superzoom bridge camera can deliver great results on a budget.
What lens is best for a safari?
A telephoto zoom reaching at least 300mm, ideally 400mm or beyond — something like a 100–400mm or 150–600mm is the most useful single safari lens. Reach matters most for wildlife. Pair it with a wider standard zoom (24–105mm) for landscapes and scene-setting shots.
Do I need a tripod on safari?
Usually not for vehicle game drives, where a bean bag rested on the window or roof gives better support. A monopod helps on walking safaris and at hides, and a proper tripod is essential for night and astrophotography. For most game viewing, a bean bag is the key support tool.
How many memory cards and batteries should I bring?
More than you think — wildlife photography in burst mode fills cards fast, so bring several high-capacity cards and two or three spare batteries (cold mornings drain them and charging is limited at remote camps). Bring a way to back up images each evening too.
Is mirrorless or DSLR better for safari?
Both take superb images. Mirrorless is the modern direction, with excellent animal/eye-detection autofocus, silent shooting and lighter weight; DSLRs remain very capable and often cheaper second-hand. Fast accurate autofocus and good high-ISO performance matter more than which type you choose.
Kit sorted — now learn to use it. Continue with our guides to safari photography settings, photographing the Big Five, and the complete Laikipia wildlife photography guide.