Last updated: June 2026
Bird photography is, frankly, harder than photographing the Big Five — the subjects are small, fast, often distant, and rarely hold still — but it’s also among the most rewarding, and Laikipia, with its 350-plus species and brilliant light, is a wonderful place to try it. A lilac-breasted roller frozen mid-launch, a sunbird’s iridescence caught just so, an eagle’s eye sharp against a blurred sky: these images take more reach, more patience and a bit more technique than mammal photography, but the principles are learnable. This guide to bird photography in Laikipia covers the gear, settings, techniques and locations that will lift your avian images from frustrating to frame-worthy.
Whether you’re a wildlife photographer wanting to add birds to your repertoire or a birder wanting better record shots, here’s how to capture Laikipia’s avifauna well.
The Gear You Need for Birds
Bird photography is the most reach-hungry genre, so the lens matters more than ever. While a 400mm lens handles much of Laikipia’s larger and closer birdlife, serious bird photography benefits from more — a 500mm, 600mm or a long zoom like a 150–600mm gives you the reach to fill the frame with small, wary subjects. Fast, accurate autofocus is critical for birds in flight, and good high-ISO performance helps in the low light when birds are most active. A bean bag steadies the long lens in the vehicle, and a tripod or monopod helps at hides. Our broader camera gear guide covers the fundamentals; for birds specifically, prioritise reach and autofocus speed above all.
Camera Settings for Birds
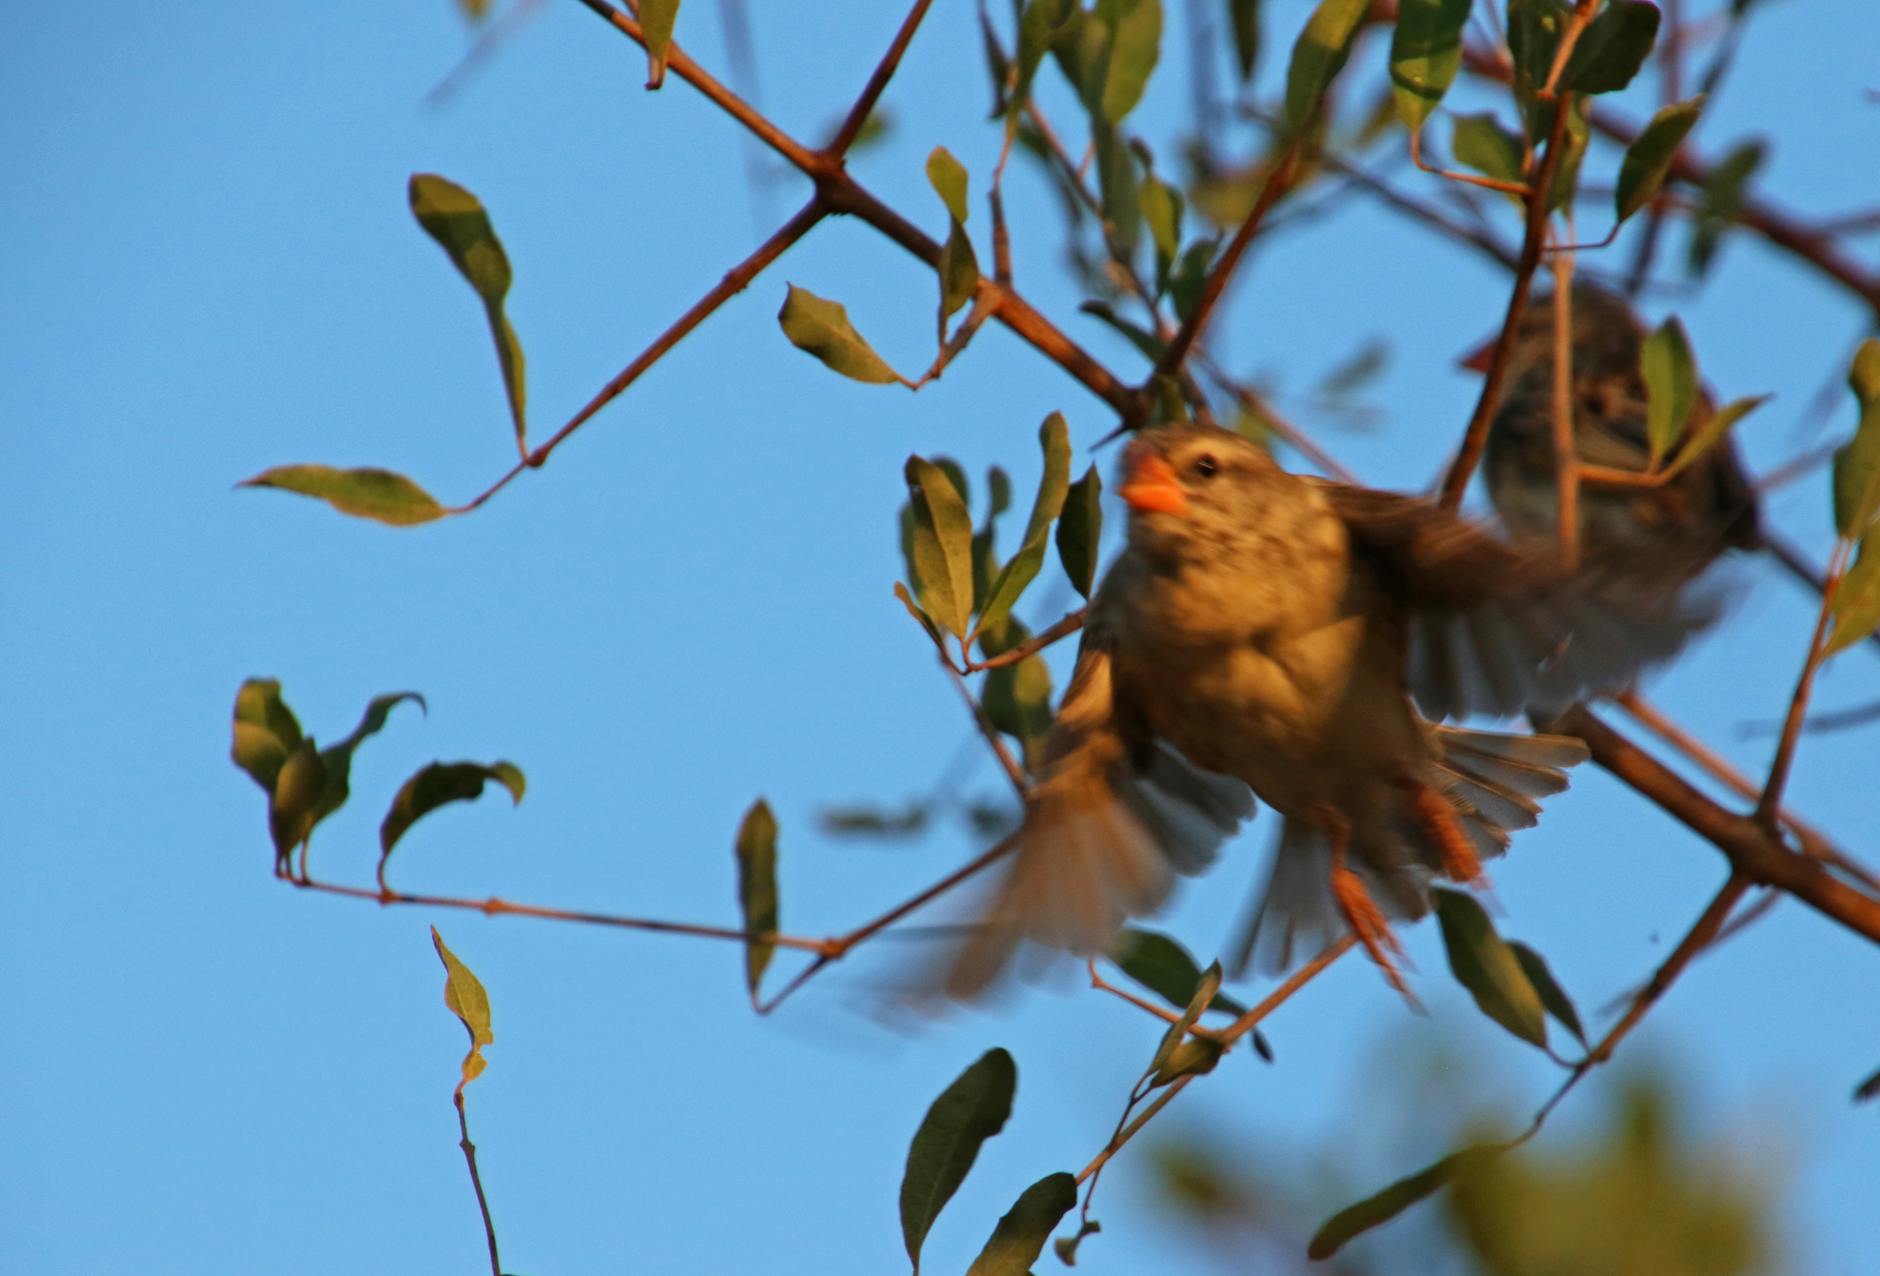
Bird photography demands even faster, sharper settings than general wildlife work. Use a fast shutter speed — at least 1/1000 for perched birds and 1/2000 or faster for birds in flight — to freeze their quick movements and any wingbeats. Shoot at a wide aperture for light and to blur cluttered backgrounds, and don’t hesitate to raise ISO to keep the shutter fast (a sharp, slightly grainy bird beats a blurry one). Use continuous autofocus with the focus point on the bird’s eye, and burst mode to catch the instant of a launch, call or wing-stretch. Many cameras now have bird-eye autofocus — enable it. These settings, building on our general settings guide, are the foundation of sharp bird images.
Using Hides and Waterholes
The single best way to get great bird images in Laikipia is to use a hide or a waterhole. Birds that are wary and distant in the open become approachable when you’re concealed and they’re focused on drinking, bathing or feeding. A sunken photographic hide at a waterhole puts you at eye level for intimate, professional-looking shots as a parade of species comes to water — sunbirds, weavers, doves, starlings, raptors and more. Even a lodge waterhole viewable from a deck, or feeders in the garden, concentrate birds at close range in good light. Patience in a hide, letting the birds come to you, consistently produces far better images than chasing them across the bush. If bird photography is your goal, prioritise a property with a hide or active waterhole.
Photographing Birds in Flight
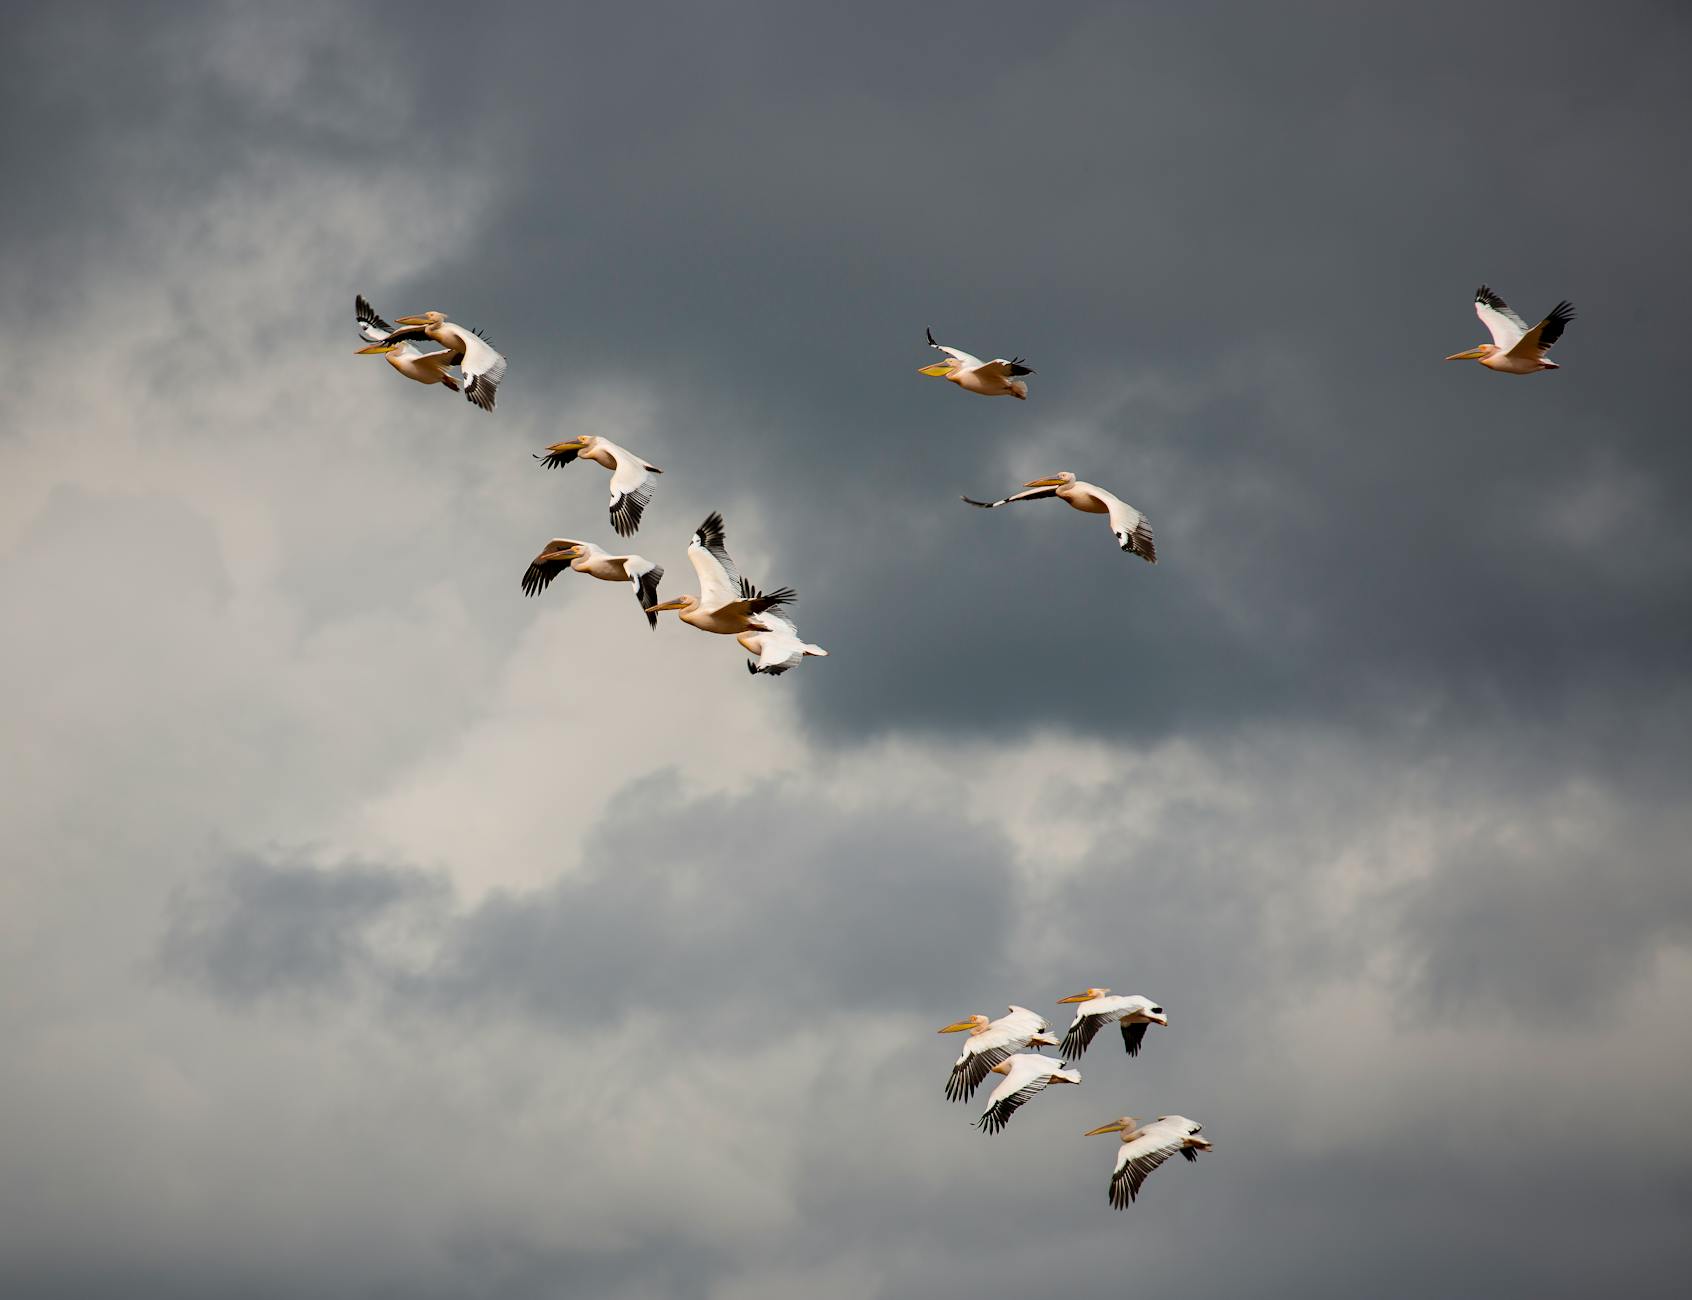
Birds in flight are the ultimate bird-photography challenge — and the most thrilling to nail. Success needs the fastest shutter speeds (1/2000 or more), continuous autofocus tracking, and practice panning smoothly with the bird to keep it in frame. Anticipate the launch (birds often defecate or crouch before taking off, and a perched bird facing into the wind is about to fly), pre-focus where you expect the action, and shoot bursts. Larger, slower fliers — herons, storks, eagles, the fish eagle — are easier to start with than darting small birds. Laikipia’s open skies, abundant raptors and waterbirds offer plenty of flight opportunities. Flight photography has a steep learning curve and a low hit rate, but a single sharp flight shot is deeply satisfying.
Composition for Bird Images
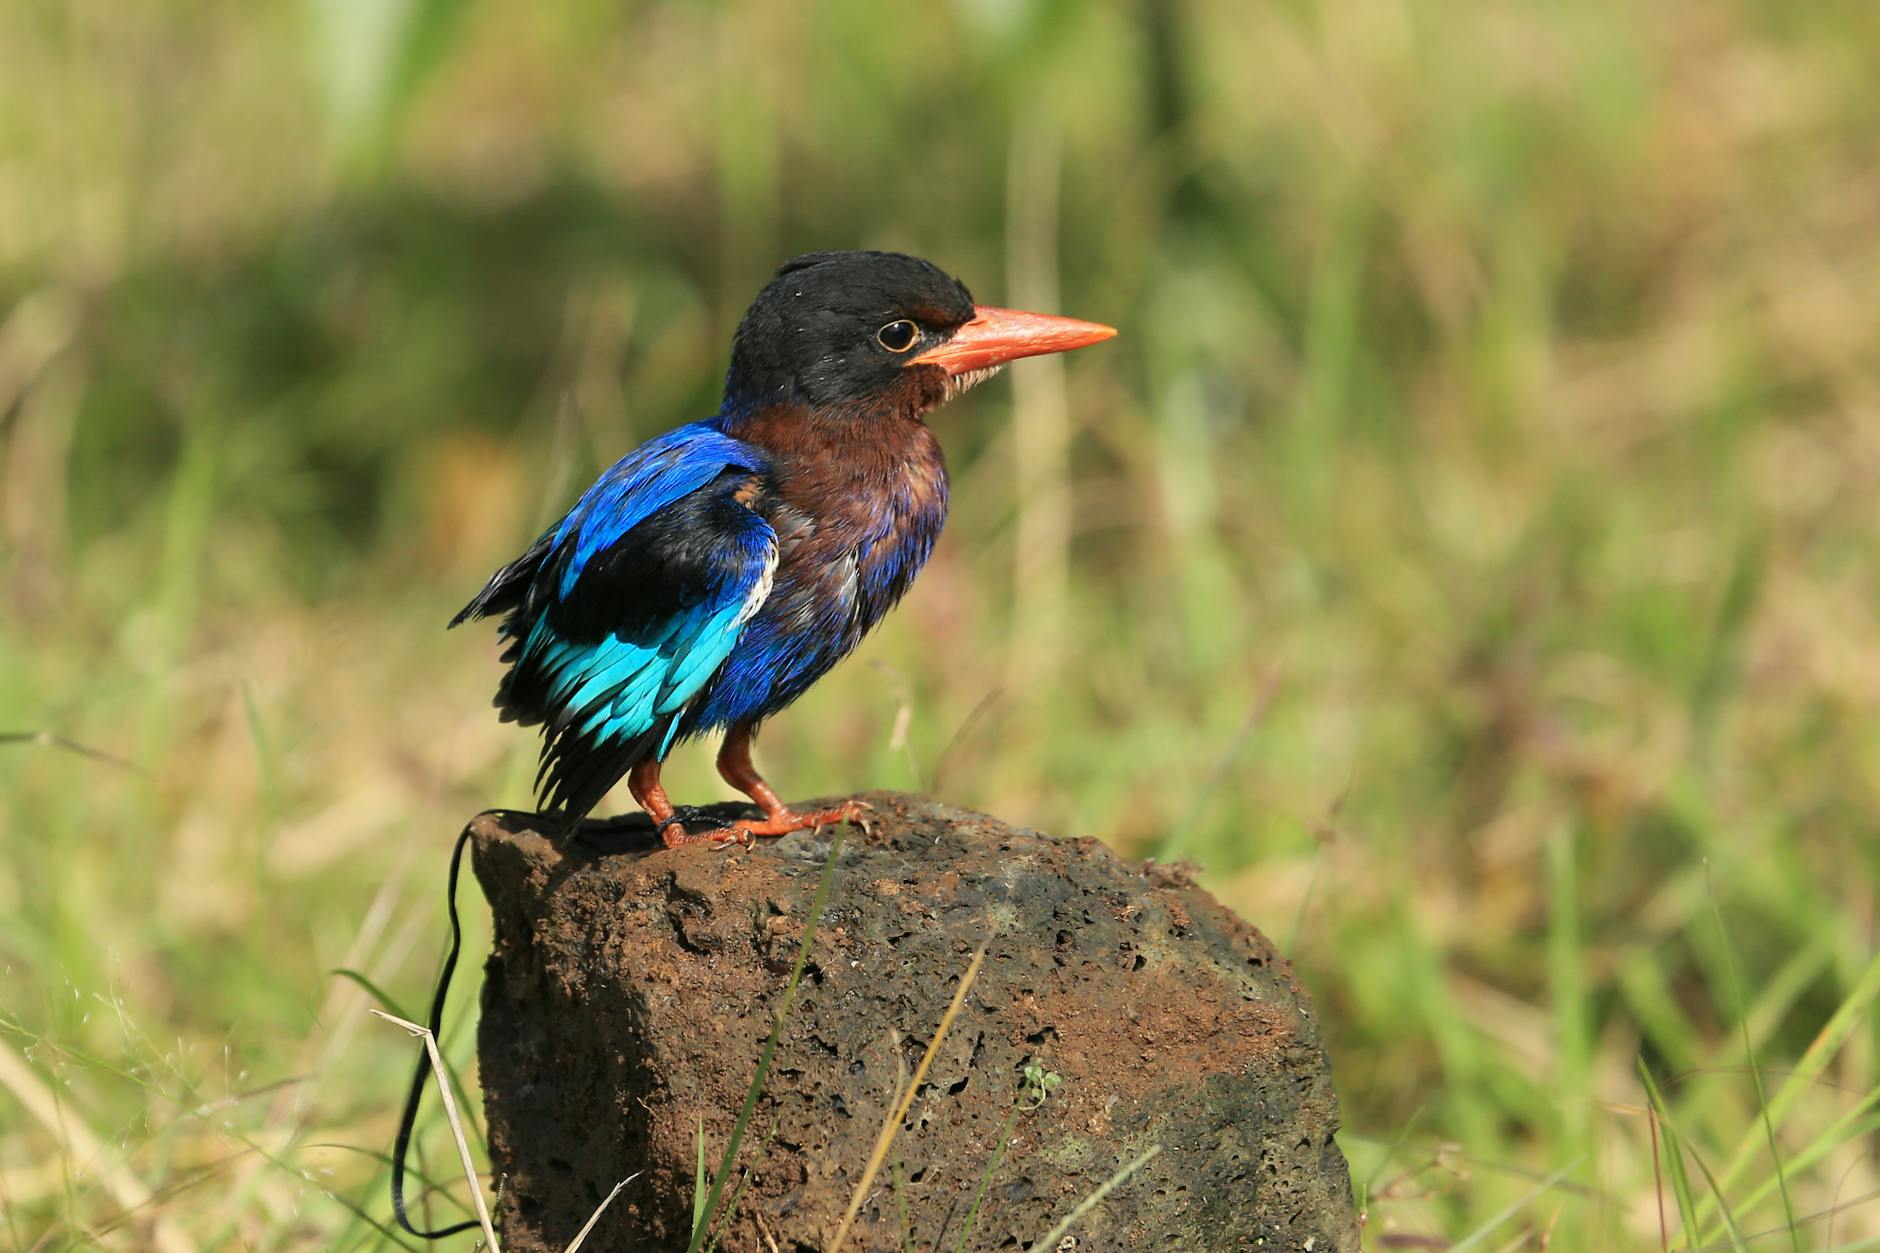
A sharp bird is only half the image; composition makes it sing. Get the eye sharp and include a catchlight — the glint that brings the bird alive. Aim for a clean, uncluttered background, repositioning to lose distracting branches or bright spots and using a wide aperture to blur what remains. Leave space in the direction the bird faces. Try to shoot at the bird’s eye level rather than down on it, for intimacy. Capture behaviour — feeding, calling, displaying, interacting — over a static perch shot. And consider the perch and setting: a natural, attractive perch (and avoiding man-made ones) lifts the image. These compositional habits, the same that serve all wildlife photography, are what separate a record shot from a portfolio image.
Best Locations and Times for Bird Photography
Marry your bird photography to the right place and time. The golden hours of early morning and late afternoon give the warm, soft light that flatters birds and coincides with peak activity. Waterholes and hides are productive throughout the day as birds come to drink. The varied habitats — woodland, forest like Ngare Ndare, wetlands, the arid north for the specials — each offer different photographic subjects, so combining them (per our birding locations guide) varies your portfolio. And the wet-season months, when migrants arrive and residents wear breeding plumage, offer the most colourful and abundant subjects. Plan location, light and season together for the best bird-photography results.
Patience, Fieldcraft and Ethics
More than gear or settings, bird photography rewards patience and fieldcraft. Learn a bird’s habits so you can anticipate its behaviour; move slowly and quietly, or better, stay still and let birds approach; and be prepared to wait for the moment. Crucially, photograph ethically: never disturb nesting birds, don’t use harmful methods to attract them, keep your distance from sensitive species, and follow your guide’s and the conservancy’s rules. The welfare of the bird always comes before the photograph, and ethical practice tends to produce more natural images anyway. This patient, respectful approach is in keeping with Laikipia’s whole conservation ethos — you’re a guest in the birds’ world, capturing rather than intruding on it.
Editing Bird Images
Post-processing brings the best out of bird photographs, which often need a little help. The essentials: crop for stronger composition (placing the bird on a third, leaving looking-space), recover detail in highlights and shadows, add modest contrast and clarity to make the bird pop, sharpen the eye and feathers gently, and reduce noise on high-ISO shots. For colourful species like rollers, sunbirds and the golden-breasted starling, careful colour and saturation adjustment brings out their brilliance — but keep it natural, not garish. Shooting RAW gives the latitude for all this. A good edit can rescue a slightly underexposed or soft bird image and turn a decent capture into a striking one. The goal, as always, is to enhance the bird and the moment you saw, not to fabricate — restraint and respect for the real colours produce the most pleasing, believable results.
Common Bird Photography Mistakes
A few errors trip up most bird photographers, and avoiding them quickly improves your hit rate. Using too slow a shutter speed and getting motion blur (keep it fast). Focusing on the body or background rather than the eye. Not getting close enough and cropping too hard (use reach and hides). Shooting in harsh midday light (favour golden hours). Cluttered, distracting backgrounds (reposition, use wide apertures). Not shooting bursts to catch the moment. Giving up too soon rather than waiting for behaviour. And chasing birds rather than letting them come to you. Most of these reduce to: fast shutter, focus on the eye, get close (ideally via a hide), use good light, and be patient. Sidestep these common mistakes and your bird images improve dramatically — see our general settings guide for the fundamentals.
A Bird Photography Day
Picture a productive day of bird photography in Laikipia. You start before dawn, photographing around the lodge as sunbirds and weavers catch the first light. As the sun rises, you head out, working the golden-hour light on rollers, bee-eaters and raptors perched and hunting. Mid-morning, you settle into a waterhole hide for a patient session as a parade of species comes to drink at eye level — the most productive photography of the day. Through the harsh midday you rest and review, then head out again for the soft afternoon light, perhaps targeting a specific species or trying flight shots at a wetland. Over such a day, combining around-camp, golden-hour, hide and afternoon sessions, you build a varied, high-quality set of bird images — far more than chasing birds randomly would yield. Patience, light and the hide are the keys.
Building a Bird Photography Portfolio
For a satisfying body of bird work, aim for variety across your trip. Capture portraits (the bird filling the frame, eye sharp, clean background), behaviour (feeding, calling, displaying, interacting), flight shots (the ultimate challenge), environmental images (the bird small in its habitat for sense of place), and detail shots (plumage, feet, the catchlight in an eye). Photograph a range of species — the colourful showstoppers, the raptors, the northern specials, the waterbirds — across the different habitats. This variety makes for a richer, more interesting portfolio than a collection of similar perched portraits. Combining the species diversity of Laikipia with a deliberate range of shot types, gathered patiently across varied locations and light, results in a bird-photography portfolio that truly captures the avian richness of the plateau.
Bird Photography on a Budget
You don’t need professional kit to enjoy bird photography in Laikipia. While long, fast lenses help, a modest superzoom bridge camera or an entry-level camera with an affordable telephoto zoom can produce pleasing bird images, especially of larger or closer subjects and at hides where birds come near. Technique — fast shutter, focus on the eye, good light, patience, using hides — matters more than expensive gear. Even a smartphone, as our smartphone guide notes, can capture birds at very close range or through digiscoping. So don’t let gear limitations deter you: start with what you have, apply good technique, prioritise getting close (via hides and approachable subjects), and you’ll come home with bird images to be proud of. The plateau’s accessible, colourful birdlife is forgiving for the budget photographer willing to be patient.
The Bottom Line on Bird Photography
Bird photography in Laikipia is challenging but deeply rewarding, and the plateau — with its 350-plus species, brilliant light and photographic hides — is a superb place to pursue it. Bring reach (a long lens) and fast, accurate autofocus; use fast shutter speeds, wide apertures and focus on the eye; exploit hides and waterholes to get close; work the golden-hour light; and above all, be patient and let the birds come to you. Build variety into your portfolio, edit your RAW files thoughtfully, and practise ethical, respectful fieldcraft. Whether you’re a dedicated bird photographer or a wildlife photographer adding birds to your repertoire, Laikipia rewards the effort with images of extraordinary, colourful, varied birdlife. Pair this with our guides to camera gear, the best birding locations, and the complete Laikipia birdwatching guide.
Frequently Asked Questions
Can I photograph birds and big game on the same safari?
Absolutely — the same drives and conservancies deliver both. As you photograph rhino and elephants you’ll pass rollers, eagles and bustards, and the waterholes that draw big game draw birds too. Just bring a long lens for the birds, and your guide will help with both. A general safari easily doubles as a bird-photography trip with a little attention.
What lens is best for bird photography in Laikipia?
Reach is paramount, so a long telephoto — a 500mm, 600mm or a versatile 150–600mm zoom — is ideal for filling the frame with small or wary birds, though a 400mm handles larger and closer species. Fast, accurate autofocus and good high-ISO performance matter most alongside reach. At hides, where birds come close, you can manage with less.
When is the best time of day for bird photography?
The golden hours just after dawn and before dusk, when the warm, low light flatters birds and they’re most active. Waterholes and hides stay productive through the day as birds come to drink. Avoid the harsh midday for serious shooting. The wet-season months add the most colourful subjects, with migrants and breeding plumage present.
Is bird photography harder than photographing big game?
Generally yes — birds are smaller, faster, often more distant and rarely hold still, demanding more reach, faster shutter speeds and more patience than mammal photography. But the principles are learnable, and Laikipia’s accessible, colourful birdlife and photographic hides make it an excellent place to develop the skills. A hide, in particular, makes bird photography far more achievable.
What’s the best way to get close to birds for photos in Laikipia?
Use a photographic hide or waterhole, where concealed and with birds focused on drinking or feeding you get close, natural, eye-level shots impossible in the open. Lodge waterholes and garden feeders also bring birds near. Patience — letting birds come to you — combined with a long lens and good light, is the key to frame-filling bird images.
Do I need an expensive camera for bird photography?
No — while long, fast lenses help, a superzoom bridge camera or an entry-level camera with an affordable telephoto can produce pleasing bird images, especially at hides and of closer subjects. Technique (fast shutter, focus on the eye, good light, patience, using hides) matters more than expensive gear. Start with what you have and prioritise getting close.
What lens do I need for bird photography in Laikipia?
Bird photography is reach-hungry — a 400mm lens covers larger and closer birds, but serious work benefits from 500mm, 600mm or a long zoom like 150–600mm to fill the frame with small, wary subjects. Fast, accurate autofocus and good high-ISO performance matter most, alongside the reach. See our camera gear guide.
What camera settings are best for photographing birds?
A fast shutter speed (at least 1/1000 perched, 1/2000+ in flight), a wide aperture for light and background blur, raised ISO to keep the shutter fast, continuous autofocus on the bird’s eye, and burst mode. Enable bird-eye autofocus if your camera has it. A sharp, slightly grainy bird always beats a blurry one.
How do you photograph birds in flight?
Use the fastest shutter speeds (1/2000+), continuous autofocus tracking, and practise panning smoothly with the bird. Anticipate the launch, pre-focus, and shoot bursts. Start with larger, slower fliers like herons and eagles before attempting darting small birds. It’s challenging with a low hit rate, but a sharp flight shot is hugely rewarding.
What’s the best way to get close to birds for photos?
Use a hide or waterhole — concealed, with birds focused on drinking or feeding, you get close, natural shots impossible in the open. A sunken photographic hide gives eye-level images; a lodge waterhole or garden feeders also concentrate birds at close range. Patience, letting birds come to you, beats chasing them.
When is the best time for bird photography in Laikipia?
The golden hours of early morning and late afternoon for light and activity, with waterholes productive all day. The wet-season months (November–April) offer the most colourful and abundant subjects, with migrants present and residents in breeding plumage. Combine the right light, location and season for the best results.
Capture Laikipia’s birds beautifully, then explore further with our guides to the top 50 birds, the best birding locations, our wildlife photography guide, and the complete Laikipia birdwatching guide.