Last updated: June 2026
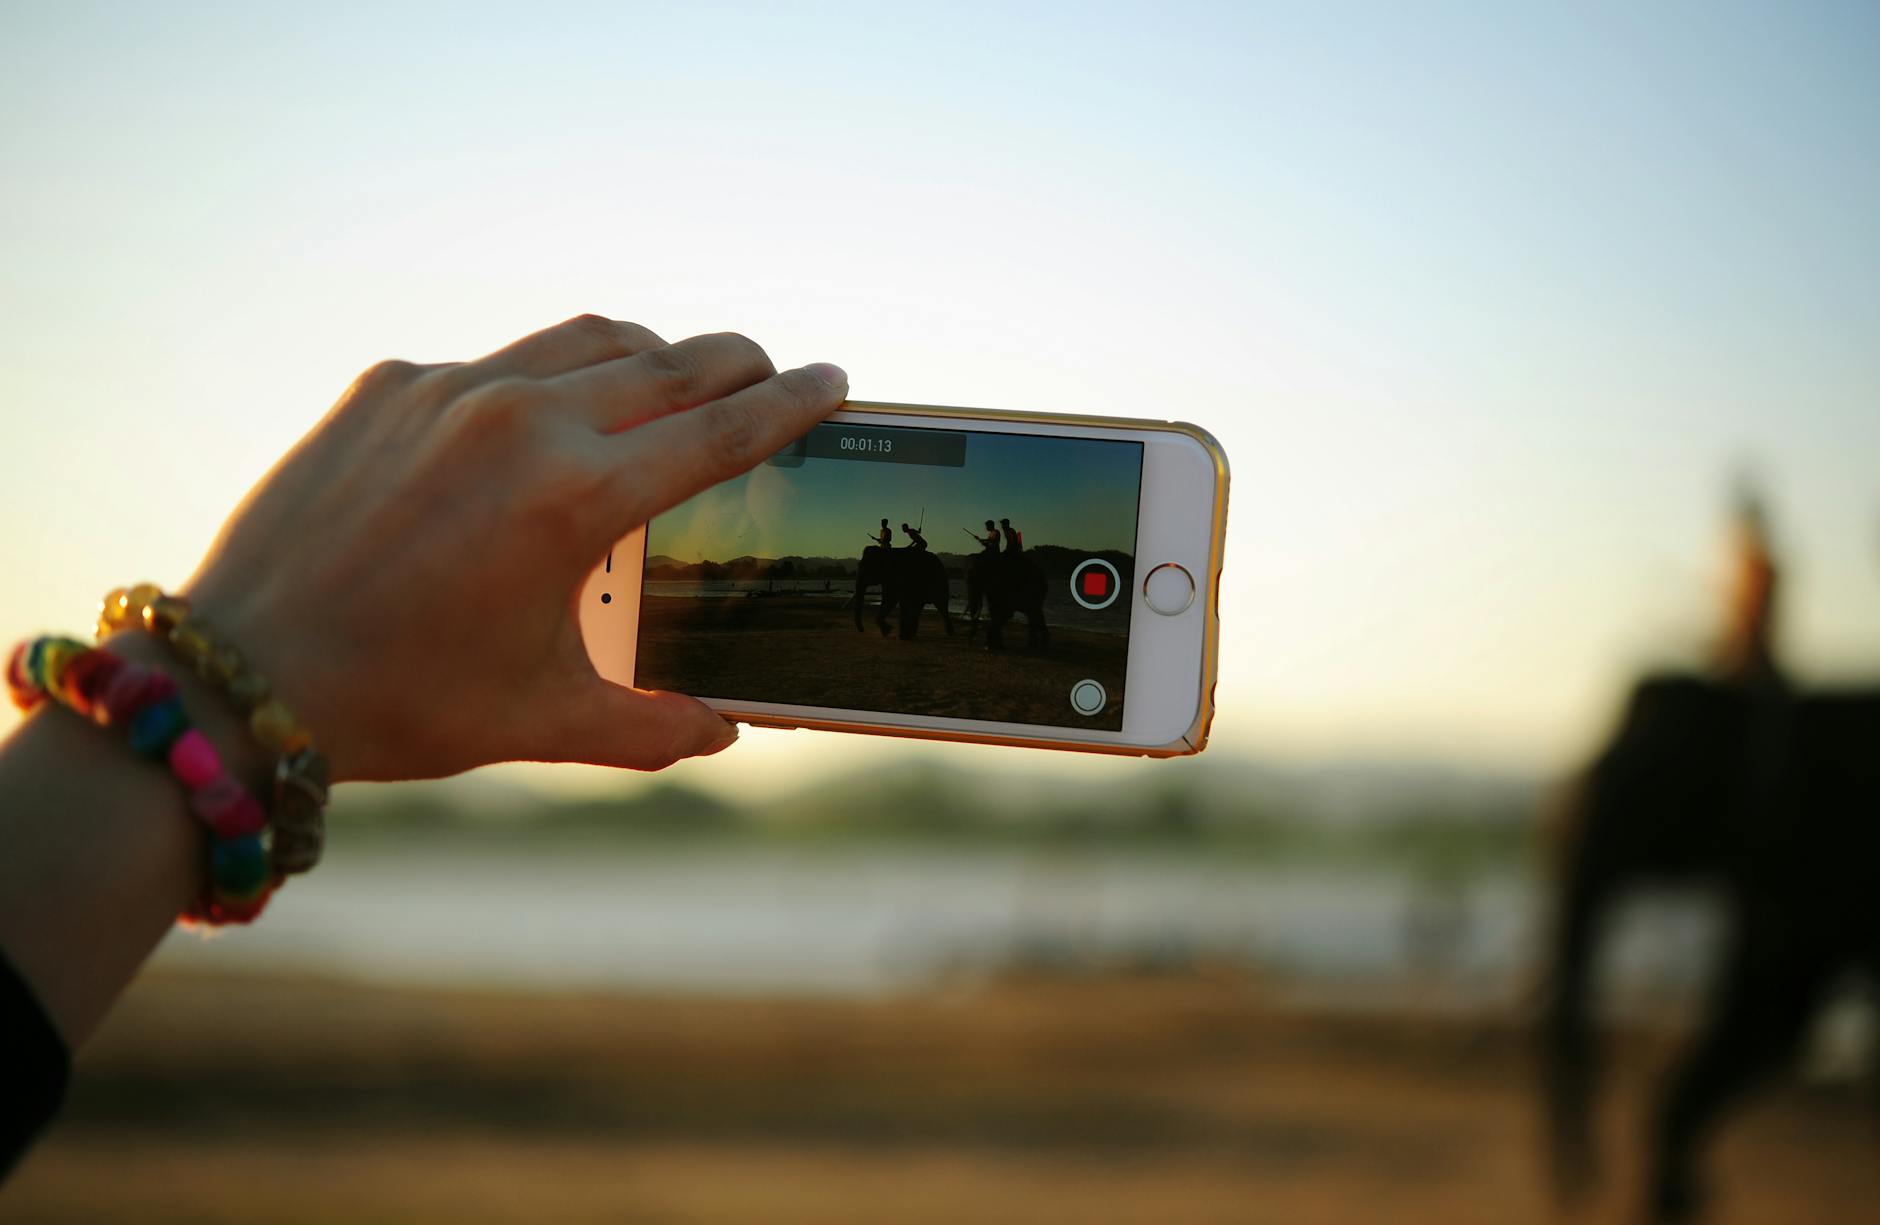
Not everyone wants to lug a bag of lenses around Africa, and the good news is you don’t have to. The smartphone in your pocket is a remarkably capable camera, and with the right techniques it can capture genuinely lovely safari images — especially the landscapes, scenes and moments that tell the story of your trip. No, it won’t fill the frame with a distant leopard the way a long lens does, but understanding what your phone does brilliantly (and where it struggles) lets you come home with photographs you’ll treasure. This guide to smartphone safari photography shows you how to get the best shots from Laikipia without a DSLR.
Whether your phone is your only camera or a handy backup to a “proper” one, these tips will transform your results — and they cost nothing but a little know-how.
What Smartphones Do Well (and Don’t)
Be realistic about your phone’s strengths so you can play to them. Smartphones excel at wide scenes: sweeping landscapes, Mount Kenya at dawn, the lodge, sundowners, camp life, and the people and culture of your trip. They’re superb for the storytelling shots a long lens can’t easily take. Where they struggle is reach — distant wildlife becomes a tiny, grainy speck, because digital “zoom” just crops and degrades the image. So the golden rule of smartphone safari photography is: shoot wide and shoot close subjects, and don’t fight your phone trying to photograph far-off animals. Lean into the landscapes, the atmosphere and the close encounters, and your phone will shine.
Get Close, Don’t Zoom
Because digital zoom destroys image quality, the single best thing you can do is get physically closer rather than zooming — and Laikipia’s conservancies, which often allow closer approaches than the parks, help here. When an elephant or a relaxed lion is genuinely near the vehicle, your phone can capture it beautifully. For anything distant, resist the urge to pinch-zoom into a blurry mess; instead, either wait for a closer opportunity or photograph the wider scene with the animal as a small element in the landscape, which can actually make a more evocative image. If your phone has multiple lenses including a telephoto, use the optical (not digital) zoom up to its limit, but know that even that has its bounds.
Master Your Phone’s Camera Settings
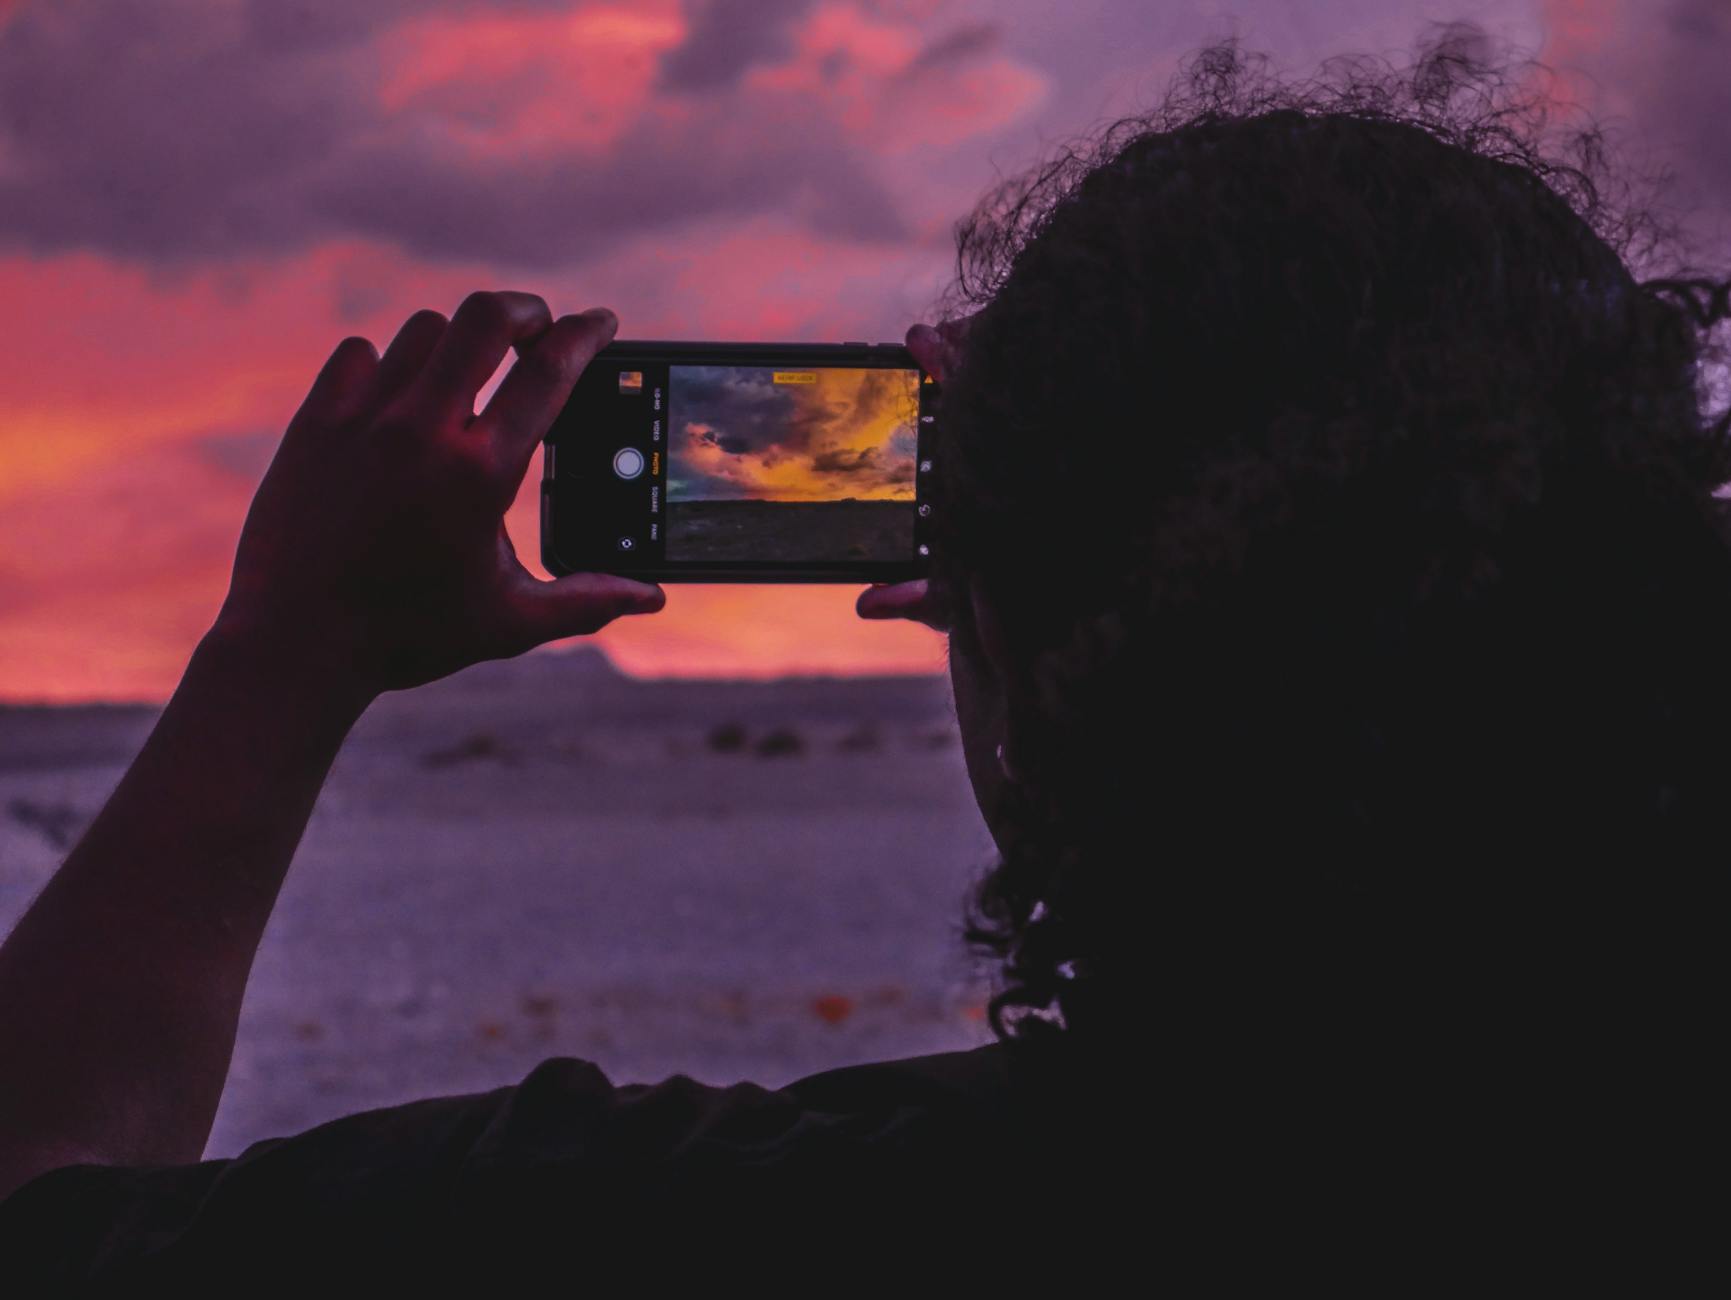
Modern phone cameras hide real power beneath the simple interface. Tap to focus and set exposure on your subject (then adjust brightness by sliding up or down). Turn on the gridlines to compose using the rule of thirds. Use your phone’s “pro” or “manual” mode if it has one, to control exposure and avoid blown-out skies. Shoot in the highest quality setting, and consider RAW if your phone supports it, for more editing latitude. Use burst mode (hold the shutter) for any movement, just as with a “real” camera, to catch the moment. Enable HDR for high-contrast scenes like a bright sky over dark bush. A few minutes learning these controls before your trip pays off enormously.
Stability: The Secret to Sharp Phone Shots
Phones are light and easy to shake, especially when you tap the screen to shoot. Steady them: brace your elbows against the vehicle, rest the phone on a bean bag or the window frame, or use a small tripod or phone clamp for landscapes and low-light shots. Use the volume button or a timer to trigger the shutter without jabbing the screen, which causes shake. In good light, stability matters less, but at the dim dawn and dusk when wildlife is active — and for any landscape or night shot — keeping the phone still is the difference between crisp and smeary. It’s the most overlooked smartphone technique and the easiest to fix.
Clip-On Lenses and Accessories
A small ecosystem of accessories can extend your phone’s reach and versatility. Clip-on telephoto lenses promise more reach, though quality varies and the best results come from dedicated phone-camera systems rather than cheap clips. More reliably useful are a small tripod or clamp for stability, a wide or macro clip-on lens for landscapes and detail shots, a power bank (safari days are long and photography drains batteries), and plenty of storage or cloud backup. Some travellers even hold their phone to one eyepiece of their binoculars (digiscoping) for improvised reach on distant subjects — fiddly but occasionally magic. Don’t over-invest; the phone itself plus stability and technique deliver most of the results.
Composition and Light for Phone Photographers
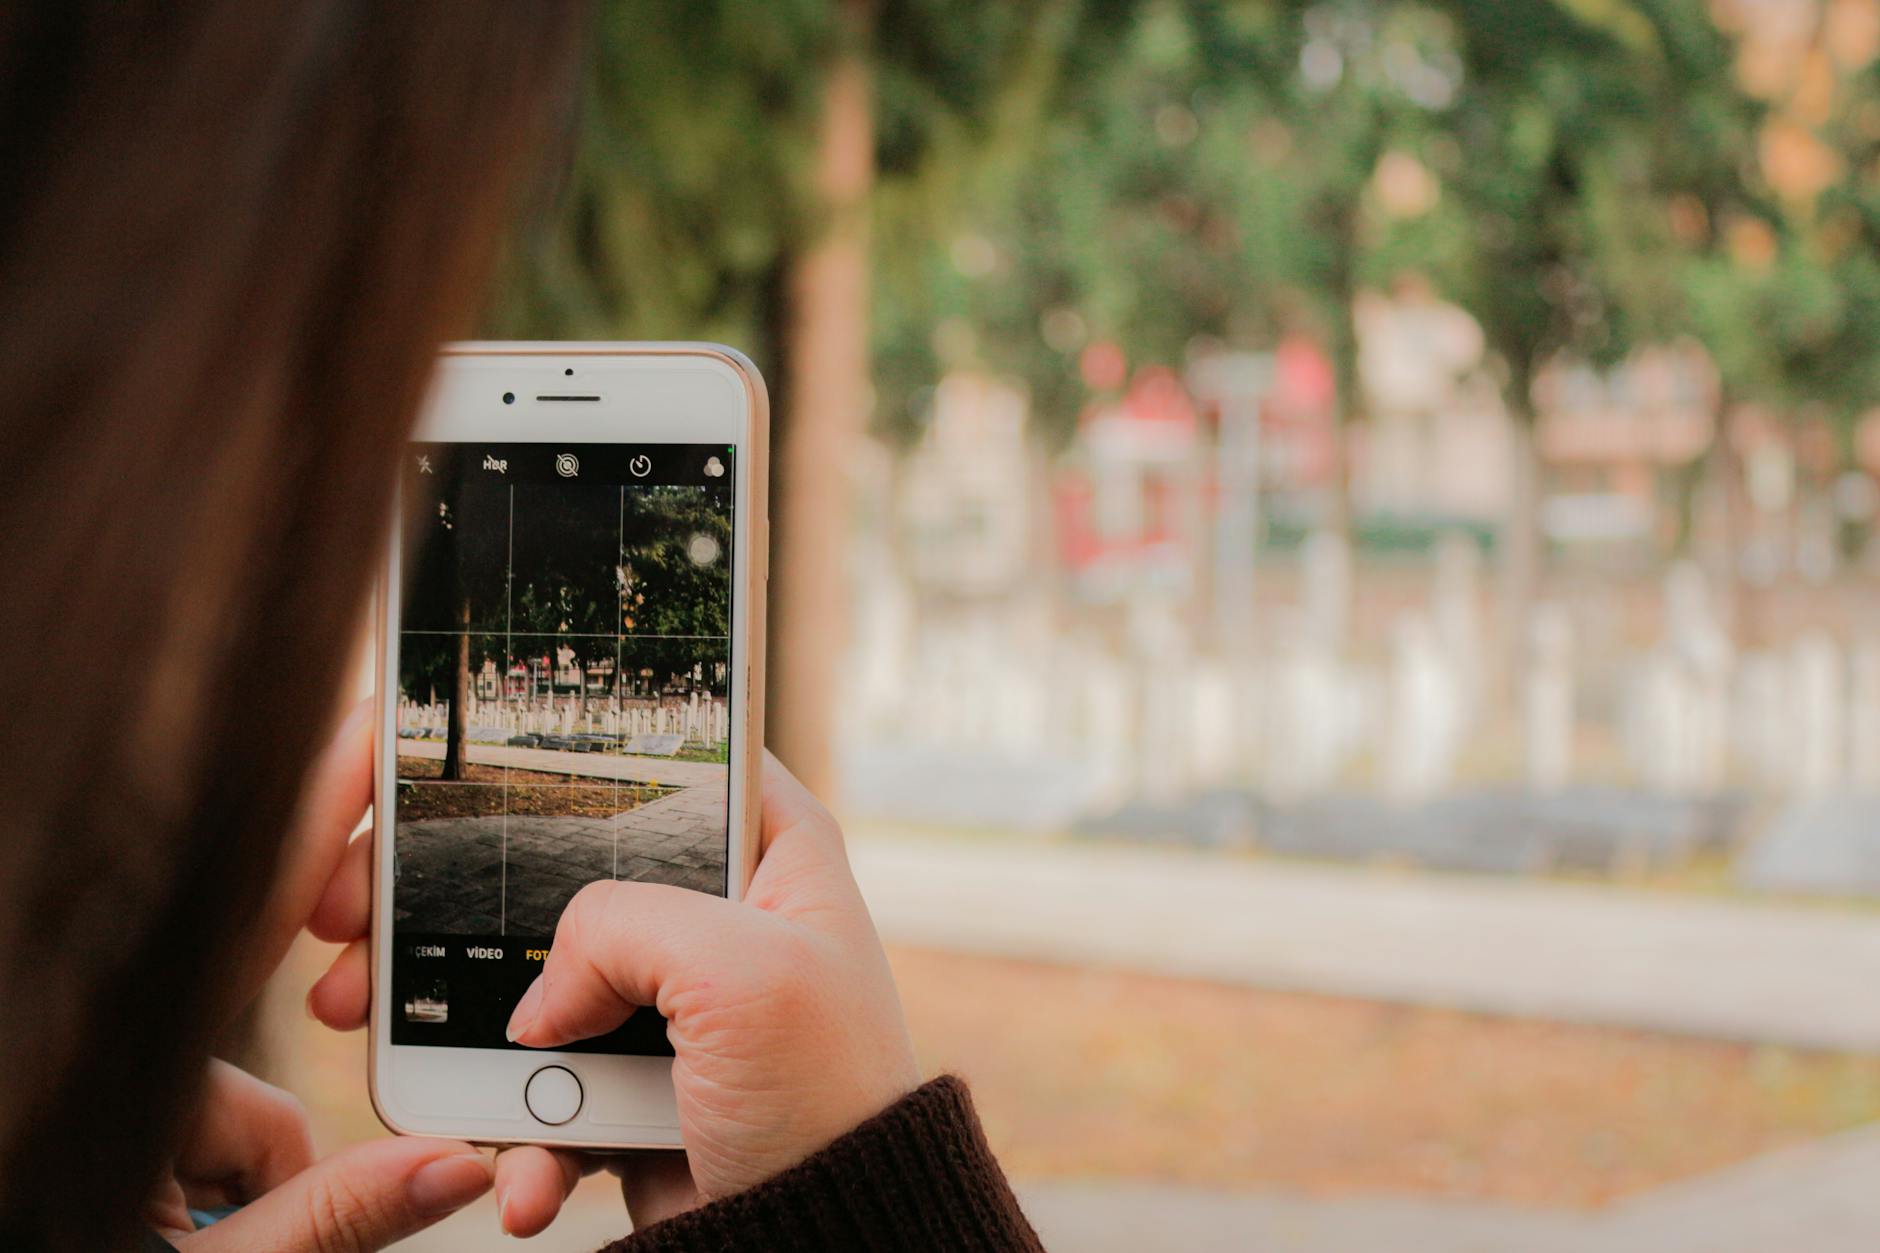
The same principles that make any photograph good apply doubly to phones, where you can’t rely on long-lens compression and background blur. Use the golden-hour light at dawn and dusk, when soft, warm illumination flatters phone images and hides their low-light weaknesses. Compose thoughtfully with the rule of thirds and leading lines. Include foreground interest in landscapes for depth. Watch for clean backgrounds and strong silhouettes (a phone captures a sunset silhouette beautifully). Tell a story — the wide camp scene, the detail of a footprint, the hands of a Maasai guide, the dust trail of a departing herd. By focusing on composition, light and storytelling rather than chasing distant animals, phone photographers often come home with more evocative, shareable images than the gear-laden enthusiast next to them.
Editing on Your Phone
One of the smartphone’s great advantages is instant, easy editing — and a little enhances your images enormously. Free and inexpensive apps let you crop for better composition, adjust brightness and contrast, lift shadows, boost colour subtly, and straighten horizons. A gentle edit can rescue an underexposed dawn shot or make a flat midday image sing. The key is restraint — enhance, don’t overcook; aim for natural, not garish. Editing on the phone also means you can share your safari in near-real-time where connectivity allows, though savouring the moment and uploading later is no bad thing either. Learning a simple editing workflow is the final piece that turns good phone captures into images you’re genuinely proud of.
Smartphone Astrophotography and Night Shots
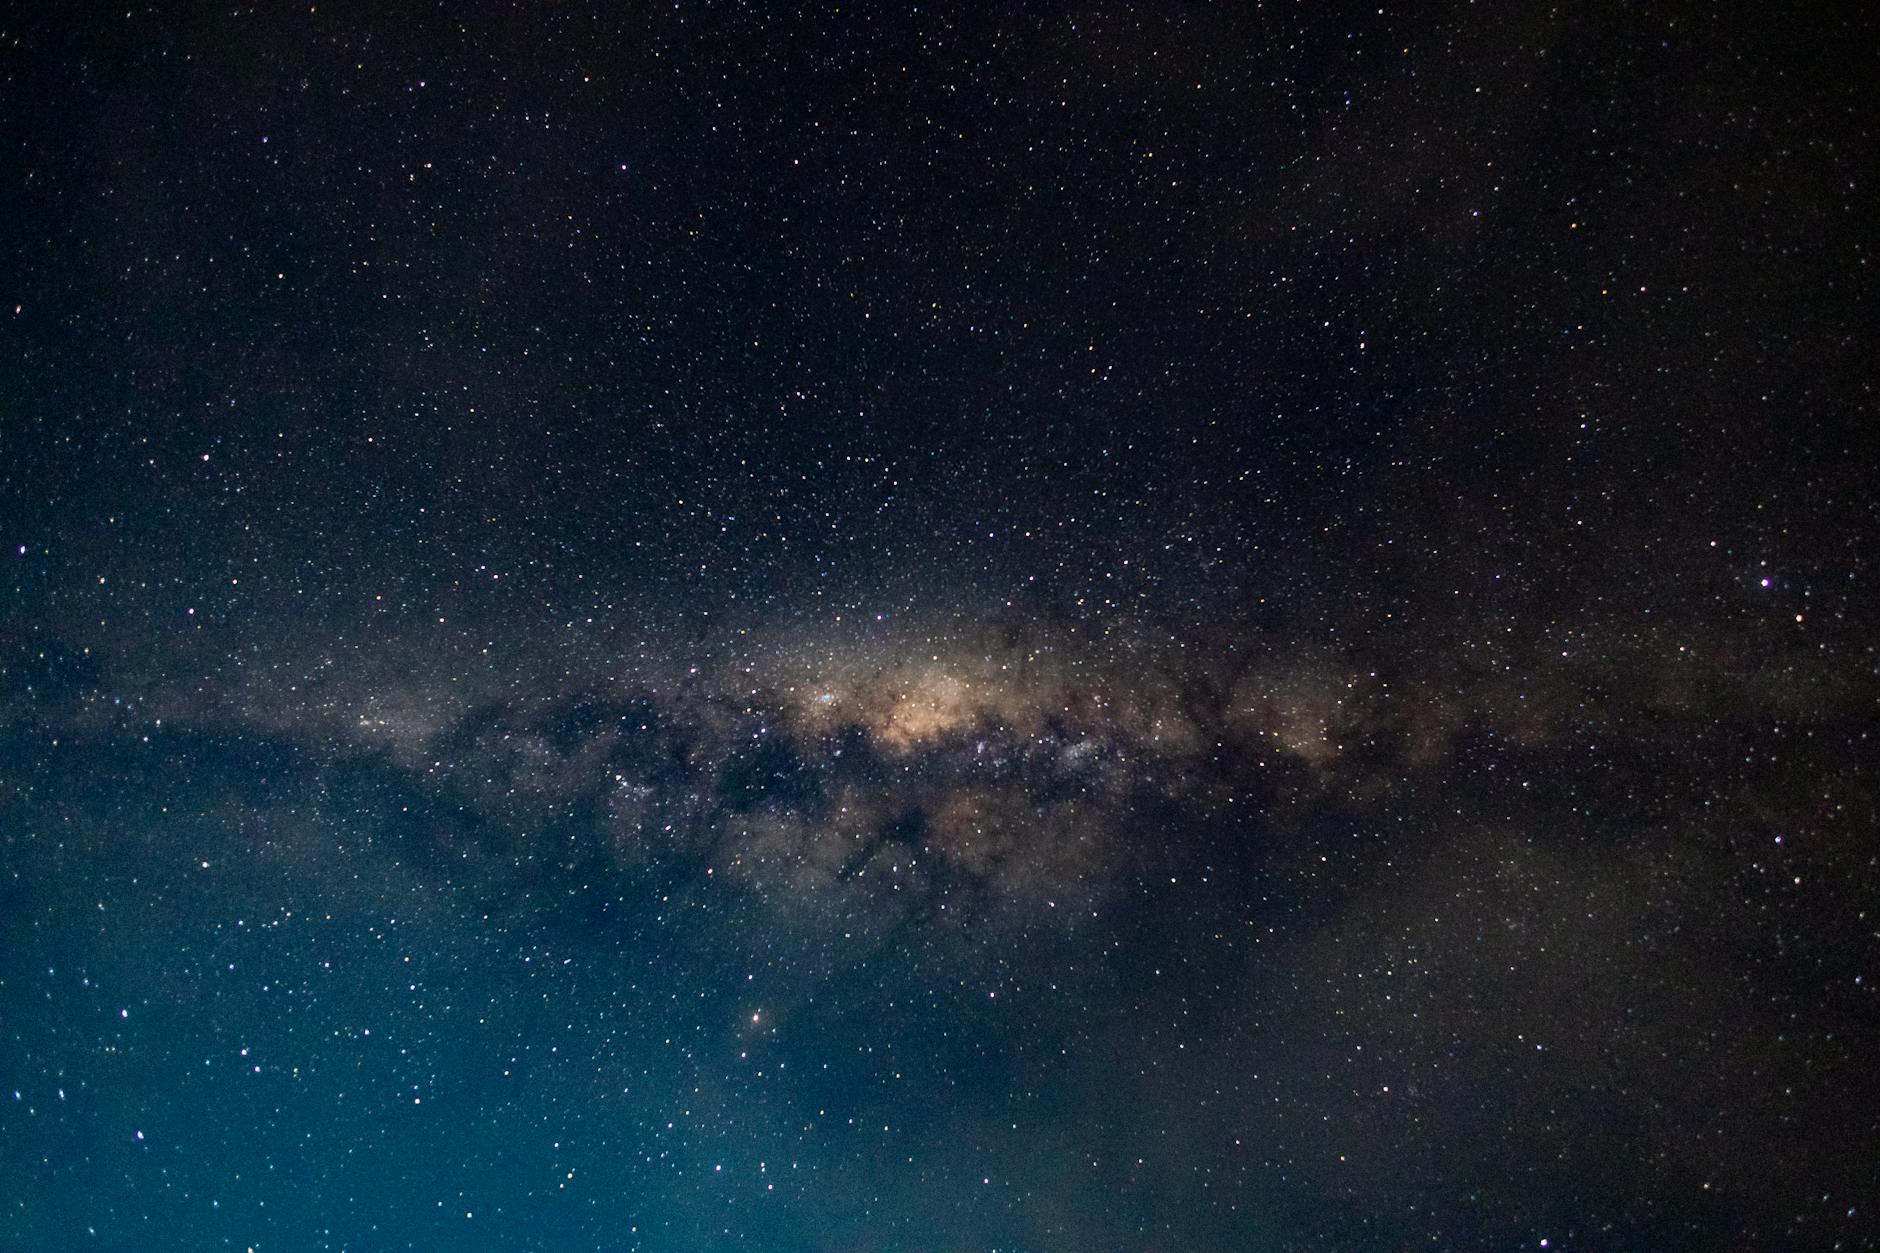
One area where modern smartphones genuinely shine is night photography, thanks to their increasingly capable “night modes.” Under Laikipia’s spectacularly dark skies, a recent phone steadied on a beanbag, a wall or a small tripod can capture surprisingly good images of the stars, the Milky Way and moonlit landscapes — something unthinkable a few phone generations ago. Use night mode, keep the phone absolutely still (a tripod or clamp is ideal), trigger with the timer to avoid shake, and let the longer exposure work. You won’t match a dedicated astro setup, but you can absolutely come away with a shareable shot of the Laikipia night sky. Camp and campfire scenes at the blue hour also suit phones beautifully. For the full approach, see our night photography guide.
Video on Your Phone
Don’t overlook your phone’s video, which is often outstanding and a wonderful way to capture safari moments that stills can’t — the sound of the dawn chorus, an elephant rumbling, a lion’s roar, the movement of a herd. Shoot short, steady clips (brace the phone), keep the sun behind you, and capture both wide scenes and closer action. Phone video is also brilliant for the human side of the trip — the camp, the guides, the journey. Stitched together later, these clips make a far more evocative record of your safari than photos alone. Because storage fills fast with video, bring ample capacity and back up regularly. For many travellers, the phone’s real strength on safari turns out to be video as much as stills.
Battery, Storage and Practicalities
A phone is only useful while it’s charged and has space, and safari days are long with limited charging, so plan ahead. Bring a power bank (ideally a good-sized one) to top up through the day, and charge fully each night where power allows. Manage storage: photography and especially video fill phones fast, so free up space before you travel, and back up to the cloud each evening if you have WiFi, or to a portable device. Protect the phone from dust (a case and keeping it bagged when not in use) and from drops in the vehicle. Carry the right adaptor (Kenya uses UK-style plugs). These practicalities are easy to overlook but essential — a dead or full phone captures nothing.
The Phone as a Backup Camera
Even if you bring a “proper” camera, your phone is a valuable second tool, not just a fallback. It excels at the wide, contextual shots your telephoto can’t take — the sweeping landscape, the camp, the group photo, the behind-the-scenes moments — complementing your main camera’s tight wildlife portraits. It’s instantly ready for the unexpected close encounter when your big lens is the wrong choice. And it’s perfect for quick documentation and sharing. Many serious photographers use their phone alongside their camera for exactly these reasons, capturing the story around the wildlife. So even committed enthusiasts should keep the phone handy — together, the two cameras tell a fuller story of your Laikipia safari than either alone.
Sharing Your Safari Responsibly
One of the phone’s joys is sharing your safari, but a few thoughtful habits make it better. Where connectivity allows, you can share as you go, though savouring the moment and posting later is often wiser — don’t experience the whole safari through a screen. When you do share, consider not geotagging sensitive wildlife locations (especially anything relating to rhino or rare species), in keeping with the conservancies’ protective ethos. And let your images and captions tell the real story of Laikipia — its conservation, its communities, its wild beauty — rather than just trophy shots. Used thoughtfully, your phone becomes a tool for sharing the place’s deeper value, not just your holiday, supporting the conservation story that makes it all possible.
The Bottom Line on Smartphone Safari Photography
Your phone is a genuinely capable safari camera if you play to its strengths: shoot wide scenes, landscapes, camp life and close subjects; get physically closer rather than zooming; steady it; use good light and thoughtful composition; and edit lightly. It won’t replace a long lens for distant wildlife, but it will capture the story, the atmosphere and the close encounters beautifully — and its night mode and video are real bonuses. Whether it’s your only camera or a backup, a little technique turns phone snapshots into images you’re proud to share. Pair this with our guides to photography settings and camera gear, and capture Laikipia your way.
A Realistic Look at Phone Limitations
Honesty serves you better than false hope, so be clear about what a phone can’t do. It cannot reach distant wildlife with quality — that leopard across the plain will be a blurry speck, no matter the app or clip-on lens. It struggles with fast action at a distance, with very low light beyond static night-mode shots, and with the creamy background blur and compression that make professional wildlife portraits sing. If frame-filling, distant-wildlife portraits are your dream, you need a long lens, full stop. Accepting these limits is liberating: it lets you stop fighting your phone over distant animals and instead pour your energy into the wide, close, atmospheric and storytelling images where it genuinely excels. Know the limits, play to the strengths, and you’ll never be disappointed.
Phone Photography on a Walking Safari
One context where a phone really comes into its own is the walking safari, where lugging a big camera and long lens can be cumbersome and the subjects are often close and small. On foot, your phone is perfect for the details that define a walk — tracks in the dust, a chameleon on a branch, medicinal plants your guide points out, the textures of the bush, and the wide landscapes you move through. Its light weight and instant readiness suit the walking pace, and you can capture the experience without the bulk. For close plains-game encounters on foot, it does well too. The walking safari is arguably where the phone, rather than the big camera, is the ideal tool — proof that the best camera really is the one you have with you.
Frequently Asked Questions
Which is better for safari, a phone or a camera?
For serious wildlife photography of distant animals, a camera with a long lens wins decisively. But for landscapes, camp life, close encounters, video and night-sky shots, a modern phone is excellent — and it’s always with you, ready for the unexpected. The ideal is both: a camera for wildlife portraits and a phone for the wider story. As a single do-it-all on a light trip, the phone is more capable than most travellers expect.
Can a smartphone replace a camera on safari?
For wide scenes, landscapes, camp life, close encounters, video and even night-sky shots, a modern phone does brilliantly. What it can’t do is reach distant wildlife with quality — for frame-filling shots of far-off animals you need a long lens. As your only camera it captures the story beautifully; as a backup it complements a “proper” camera perfectly.
What’s the best smartphone trick for safari?
Get physically closer rather than zooming (digital zoom destroys quality), and steady the phone on a bean bag or window frame. Combined with shooting in good golden-hour light and composing thoughtfully, these simple habits transform phone safari photos far more than any accessory.
Can you take good safari photos with a smartphone?
Yes — especially of landscapes, scenes, camp life and close wildlife. Smartphones excel at wide, storytelling shots that a long lens can’t easily take. Their weakness is reach, so don’t try to photograph distant animals; get close, shoot wide, use good light and steady the phone, and you’ll capture lovely images.
How do I photograph animals with my phone on safari?
Get physically close rather than using digital zoom, which destroys quality — Laikipia’s conservancies often allow closer approaches. Tap to focus on the animal, steady the phone on a bean bag or window frame, use burst mode for movement, and for distant animals, photograph the wider scene instead. Use optical (not digital) zoom if your phone has a telephoto lens.
Should I use zoom on my phone for wildlife?
Avoid digital zoom, which just crops and degrades the image into a grainy mess. Use optical zoom (a dedicated telephoto lens) up to its limit if your phone has one, but otherwise get closer or shoot the wider scene. A distant animal as a small element in a landscape often makes a better image than a blurry crop.
Do clip-on phone lenses work for safari?
Quality varies — cheap clip-on telephotos often disappoint. More reliably useful are a small tripod or clamp for stability, a power bank, and plenty of storage. Some travellers digiscope (holding the phone to a binocular eyepiece) for improvised reach. The phone itself plus good technique delivers most of the results.
What’s the best smartphone setting for safari?
Tap to focus and set exposure on your subject, enable gridlines for composition, shoot in highest quality (RAW if available), use burst mode for movement and HDR for high-contrast scenes, and steady the phone. Shoot in golden-hour light, and use a pro/manual mode if available to control exposure.
Phone at the ready — now learn the wider craft. See our guides to photography settings, the best photo locations, and the complete Laikipia wildlife photography guide.