Last updated: June 2026
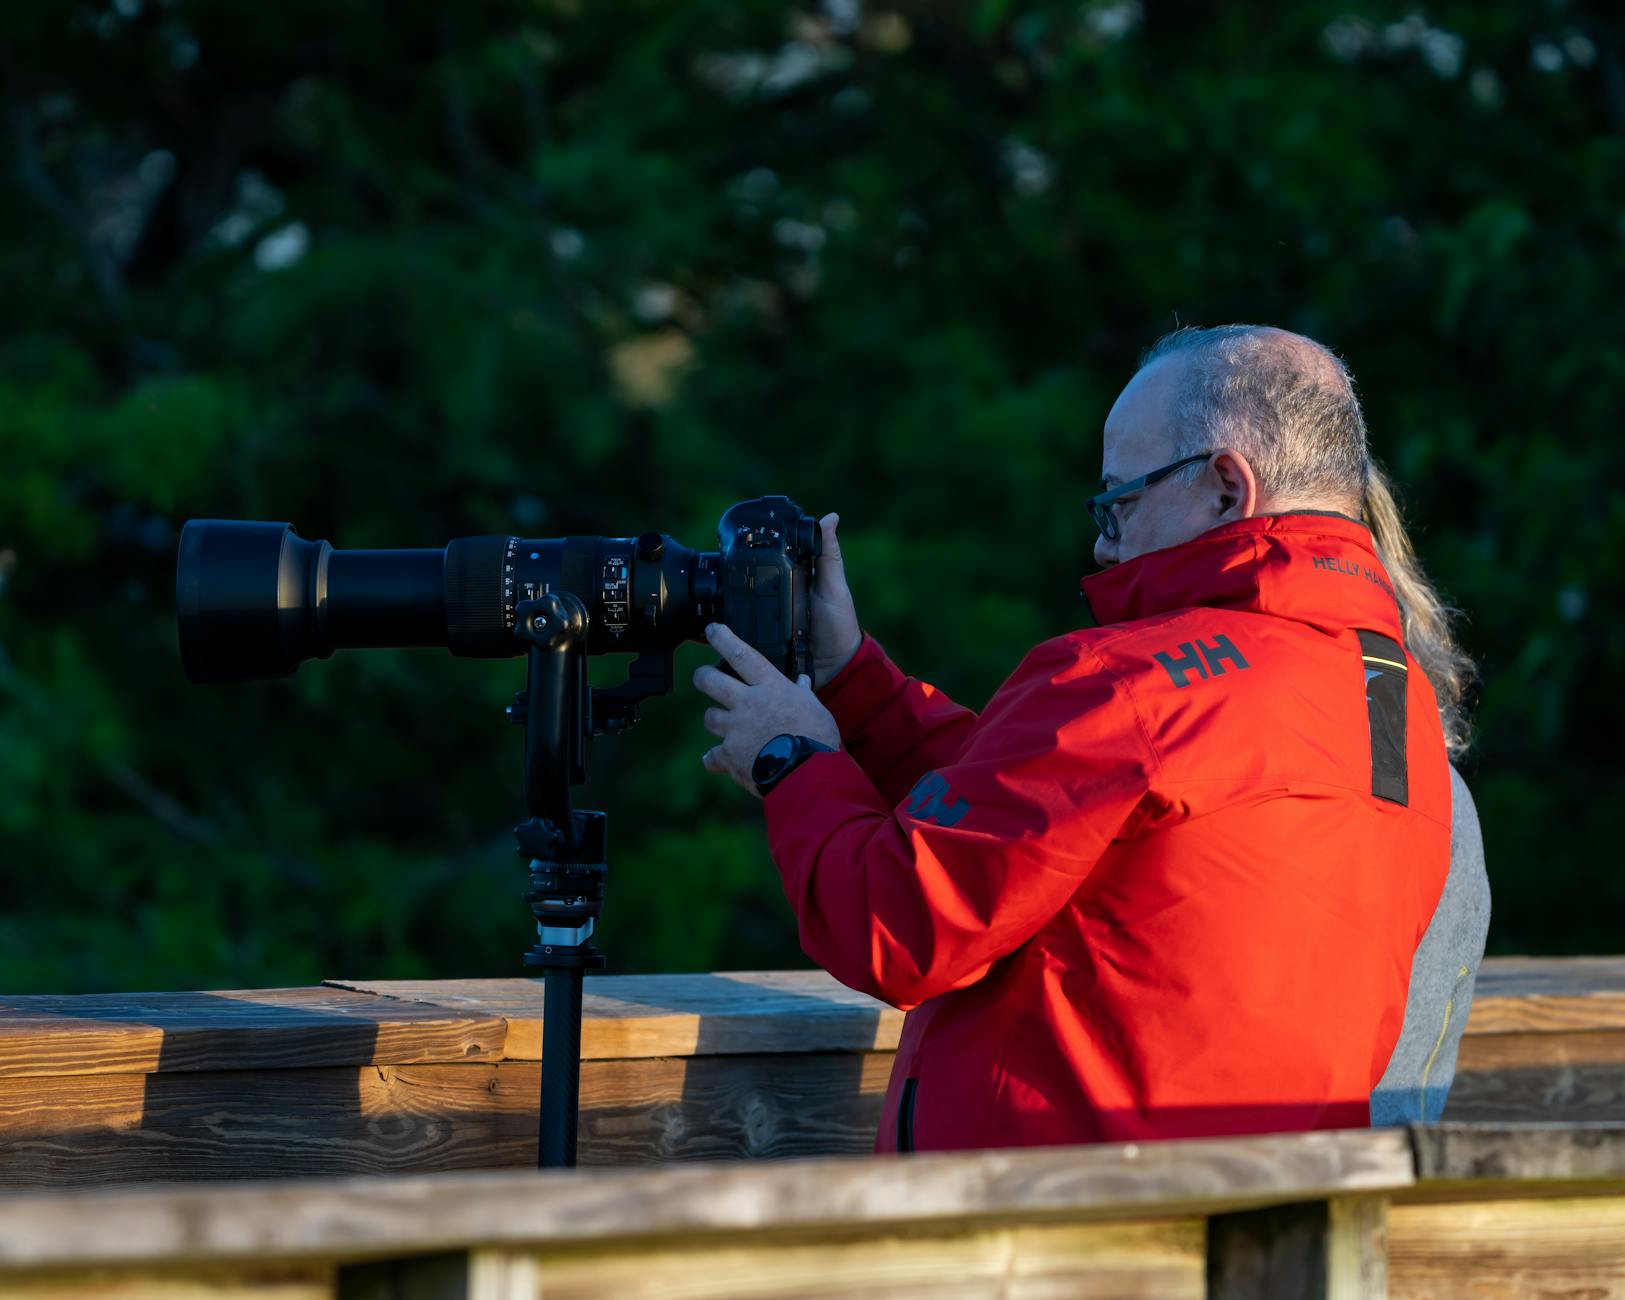
You don’t need to be a professional to come home from Laikipia with photographs you’re proud of — but you do need to understand a handful of camera settings, because “auto” mode will let you down at the crucial moment. The good news is that wildlife photography rests on a few core principles that anyone can learn in an afternoon, and once they click, your hit rate transforms. This safari photography guide for beginners walks you through the settings and techniques that matter most — shutter speed, aperture, ISO, focus and composition — in plain language, so you arrive on the plateau ready to capture sharp, beautiful wildlife images rather than blurry near-misses.
No jargon for its own sake, no assuming prior knowledge — just the practical essentials that make the difference, explained the way I wish someone had explained them to me before my first safari.
Shutter Speed: The Most Important Setting
If there’s one setting to master, it’s shutter speed, because the commonest safari photography failure is blur from movement — either the animal’s or your own. The rule of thumb: use a fast shutter speed. For a still or slow animal, 1/500 second is a sensible minimum; for movement, aim for 1/1000 or faster; and for fast action like a bird in flight or a running predator, 1/2000 or beyond. A useful guideline is to keep your shutter speed at least equal to your focal length (so 1/500 with a 500mm lens), and faster for movement. When in doubt on safari, err toward a faster shutter speed — a sharp image at higher ISO always beats a blurry one. This single principle will save more shots than anything else.
Aperture: Controlling Light and Background
Aperture (the f-number) controls how much light enters and how much of the scene is in focus. For wildlife, a wide aperture (a low f-number like f/4 to f/5.6) does two valuable things: it lets in lots of light (vital at the dim dawn and dusk when animals are active), and it throws the background pleasantly out of focus, making your subject pop against a creamy blur. This is why those professional wildlife portraits have such smooth backgrounds. On safari, shooting at or near your lens’s widest aperture is usually the right call. Only stop down to a higher f-number when you want more of the scene sharp — for instance, a group of animals at different distances, or an animal-in-landscape shot.
ISO: Embracing the Trade-Off
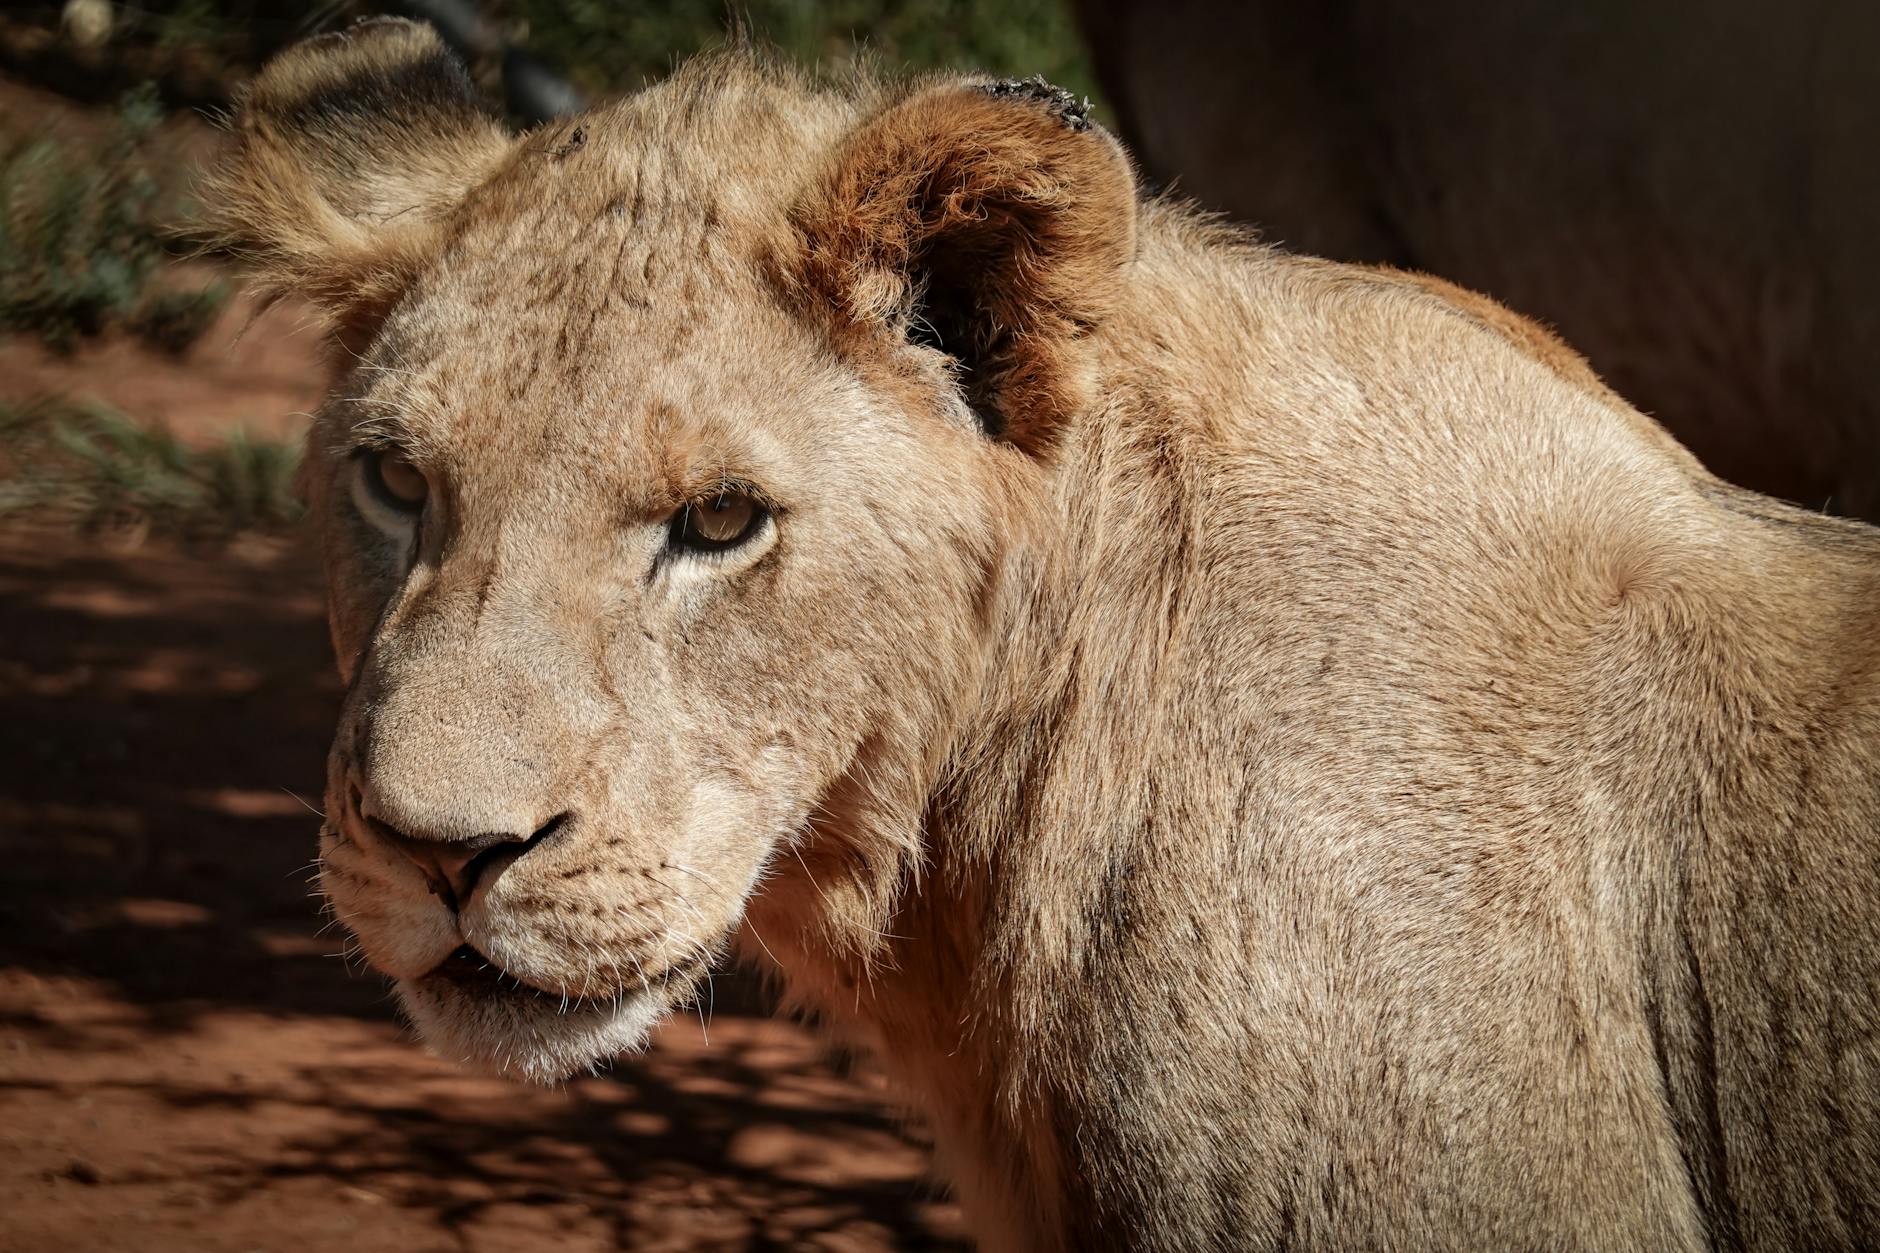
ISO controls your sensor’s sensitivity to light. Low ISO (100–400) gives the cleanest images but needs lots of light; high ISO (1600, 3200 and beyond) lets you shoot in dim conditions or at fast shutter speeds but introduces grain (noise). The beginner’s instinct is to fear high ISO, but here’s the liberating truth: a sharp, slightly grainy image is infinitely better than a clean but blurry one. Modern cameras handle high ISO remarkably well, and noise can be reduced in editing — but you can never fix motion blur. So on safari, don’t be afraid to raise your ISO to achieve the fast shutter speed you need. Let ISO be the variable that floats to keep your shutter speed fast and aperture wide.
The Easiest Way to Shoot: Priority Modes
Full manual mode is powerful but slow, and on safari things happen in seconds — there isn’t time to fiddle. The smart beginner’s approach is a semi-automatic “priority” mode. Shutter Priority (S or Tv) lets you set the shutter speed (your most important setting) while the camera handles the rest — ideal for ensuring sharpness. Aperture Priority (A or Av) lets you set the aperture (for that blurred background and light) while the camera sets shutter speed. Many wildlife photographers use Aperture Priority with Auto ISO and a minimum shutter speed set, which elegantly balances all three. Pick one, learn it well, and you’ll capture fleeting moments you’d otherwise miss while adjusting dials.
Focus: Getting the Eyes Sharp
A wildlife photo lives or dies by sharp eyes — get the eyes in focus and the image works, even if the rest is soft. Use continuous autofocus (AI Servo on Canon, AF-C on Nikon/Sony) so the camera keeps tracking a moving animal, rather than single-shot focus which locks once. Use a single or small cluster of focus points that you can place precisely on the animal’s eye, rather than letting the camera guess. Many modern cameras have animal- or eye-detection autofocus, which is brilliant when it works — enable it. And take a burst of frames rather than one, improving your odds of a sharp shot with a good expression. Focus on the eye, track the movement, shoot a burst: that’s the sharpness formula.
Composition: Beyond the Centre
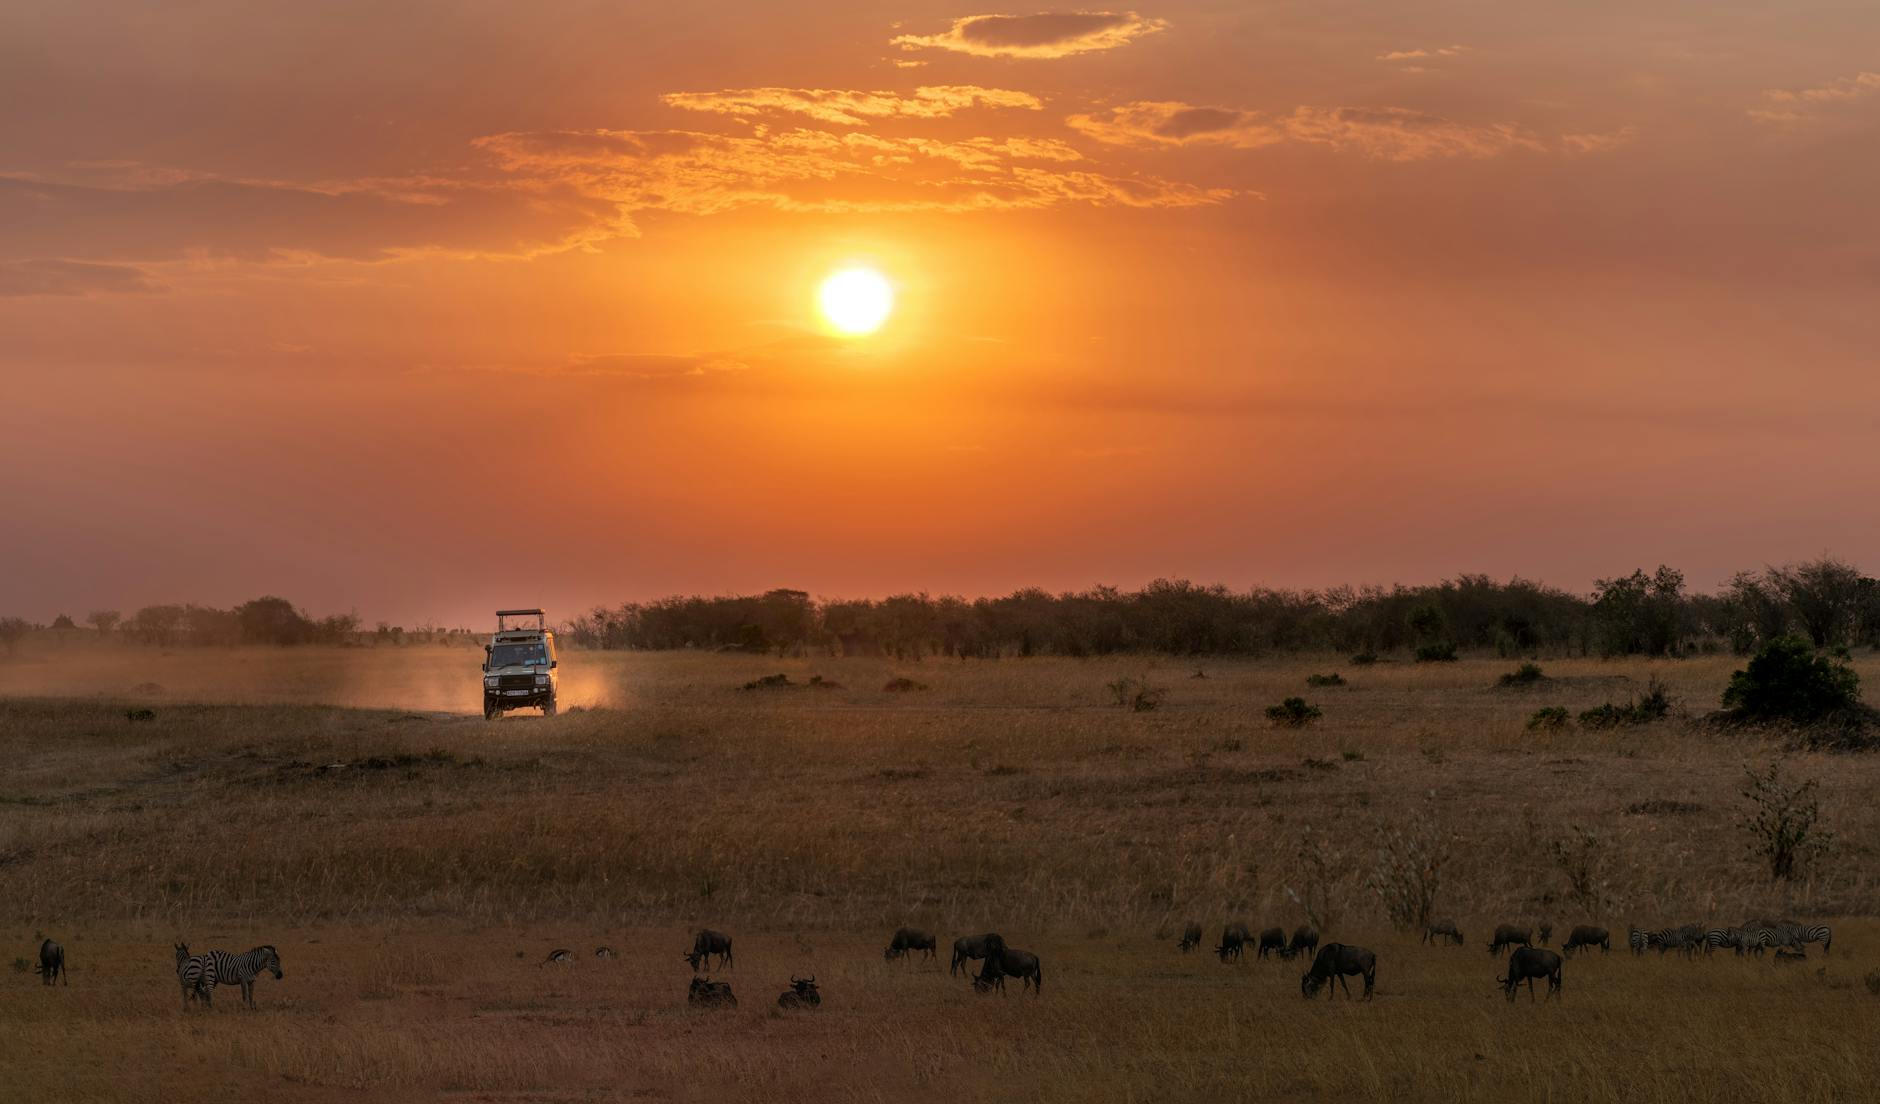
Technically sharp is only half the battle; composition makes an image sing. A few simple principles help enormously. Use the rule of thirds — place the animal off-centre, on a third line, rather than dead centre, for a more dynamic image. Leave space in the direction the animal is looking or moving. Get low where you can (shoot at eye level for intimacy and impact, rather than down on the subject). Watch your background — a clean, uncluttered backdrop transforms a shot. Include the environment sometimes, showing the animal small within the vast Laikipia landscape for a sense of place. And focus on the eyes and the moment — a connection, an action, an expression — over mere documentation.
Light: The Magic Hours
The best wildlife photography happens in the golden hours just after dawn and before dusk, when the light is warm, soft and low, flattering everything it touches. Happily, this is also when animals are most active, so a safari’s rhythm — early morning and late afternoon game drives — aligns perfectly with the best light. Harsh midday sun, by contrast, is flat and unflattering, with blown highlights and deep shadows; it’s a good time to rest. Position yourself with the light behind you for classic, well-lit shots, or experiment with side- and back-lighting for drama and rim-lit silhouettes once you’re confident. Learning to see and use light is what elevates a good photographer to a great one.
Practical Field Tips
A few habits make a big difference in the field. Keep your camera on and settings ready — wildlife doesn’t wait. Anticipate behaviour (this is where understanding animals and a good guide help) so you’re set before the action. Shoot a lot — memory is cheap and moments are fleeting. Steady your long lens on a bean bag. Take your eye from the viewfinder occasionally to enjoy the moment and watch for the next one. And review your shots periodically to check sharpness and exposure, adjusting as needed. Photography on safari is as much about fieldcraft and patience as technical settings — the two together are what bring home the keepers.
White Balance and Metering
Two settings beginners often overlook can quietly improve your images. White balance controls colour warmth; auto white balance handles most safari situations well, but if your shots look too cool or too warm, switching to a daylight or shade preset can render the golden-hour light more faithfully — and shooting RAW lets you fix white balance perfectly later. Metering determines how the camera reads the scene’s brightness; evaluative/matrix metering is a reliable default, but learn to use exposure compensation (the +/- button) to brighten dark animals or rein in bright skies. If your buffalo comes out a black blob or your sky blows out white, exposure compensation is the quick fix. These two controls, lightly understood, lift your images from acceptable to accurate.
Back-Button Focus: A Game-Changer
Here’s a technique that transforms wildlife photography once you adopt it: back-button focus. By default, half-pressing the shutter both focuses and prepares to shoot, which can cause the camera to refocus at the wrong moment. Back-button focus separates these — you assign focusing to a button on the back of the camera (pressed with your thumb), leaving the shutter button only to take the picture. This lets you focus, then recompose and shoot without the camera re-hunting, and switch effortlessly between tracking moving animals and locking on still ones. It feels odd for a day, then indispensable. Many professional wildlife photographers swear by it. If you master one “advanced” technique before safari, make it this — it directly improves your keeper rate.
Drive Modes and the Buffer
Wildlife happens in instants, so how your camera fires matters. Set your drive mode to continuous (burst) shooting, so holding the shutter captures a rapid sequence — essential for catching the peak of a yawn, a leap or a wingbeat, and for choosing the sharpest frame afterward. Understand your camera’s buffer (how many frames it can shoot before slowing while it writes to the card) and use fast memory cards to keep it clear. Don’t spray endlessly — short, well-timed bursts at the moment of action are better than holding the button down for ten seconds — but do embrace bursts for movement. Single-shot mode is for static, deliberate compositions; for anything that moves, burst is your friend.
RAW vs JPEG: Why It Matters
If your camera offers it, shoot RAW (or RAW+JPEG). A RAW file captures far more image data than a JPEG, giving you enormous latitude to correct exposure, recover blown highlights or lifted shadows, and fine-tune white balance and colour in editing — invaluable for the tricky high-contrast, low-light conditions of safari. JPEGs are smaller and ready to share but bake in the camera’s choices, limiting your ability to rescue a difficult shot. The trade-off is file size (bring more storage) and the need to process RAW files later. For anyone serious about their safari images, RAW is well worth it; the ability to rescue that once-in-a-trip shot of the leopard in poor light justifies the extra storage many times over.
Practise Before You Go
The worst time to learn your camera is on day one of safari, with a leopard in front of you and fumbling fingers. Practise beforehand at home — photograph pets, birds in the garden, cars going past, anything that moves — until changing shutter speed, switching focus modes and adjusting exposure compensation are second nature, done by feel without taking your eye from the viewfinder. Learn your camera’s controls in the dark too, for night photography. This practice is the single highest-return preparation you can do; it means that when the moment comes in Laikipia, you’re ready to capture it rather than wrestling with menus. Confidence with your gear, built in advance, is what lets you focus on the animal and the moment.
Composition Techniques to Practise
Beyond the rule of thirds, a few composition habits quickly elevate your wildlife images. Leave “looking room” — space in front of the direction the animal faces or moves — so the image feels balanced rather than cramped. Use natural framing, such as branches or grass, to draw the eye to your subject. Seek clean, uncluttered backgrounds, repositioning slightly if you can to lose a distracting branch or bright patch. Watch your horizons (keep them level and off-centre). Fill the frame for impactful portraits, or deliberately go wide for sense-of-place shots. And include catchlights in the eyes wherever possible — that tiny glint of life transforms a portrait. None of these need expensive gear; they’re free skills that make the single biggest difference to how professional your images look.
Common Beginner Mistakes
A handful of errors trip up most beginners, and knowing them helps you avoid them. Shooting in full auto and getting blurry results (use a priority mode and fast shutter). Fearing high ISO and getting blurry low-ISO shots instead (raise ISO for sharpness). Focusing on the body or background rather than the eye. Centring every subject (use the thirds). Shooting only in harsh midday light (favour the golden hours). Zooming digitally or cropping so hard the image degrades. Not shooting enough frames to catch the moment. And fiddling with settings so long you miss the action. Most of these reduce to: prioritise a fast shutter, focus on the eye, use good light, and be ready. Sidestep these and your hit rate soars.
The Bottom Line on Settings
If it all feels like a lot, distil it to this: shoot in a priority mode, keep your shutter speed fast (raising ISO as needed), use a wide aperture, focus continuously on the animal’s eye, shoot bursts, and work the golden-hour light. Practise until those choices are automatic, so that on safari you can concentrate on the animal and the moment rather than the menus. Everything else — white balance, back-button focus, composition refinements — is valuable polish on top of those fundamentals. Master the basics and you’ll come home from Laikipia with sharp, well-composed, beautifully lit images that capture the magic you witnessed. Then build on them with our guides to Big Five photography and the best photo locations.
Frequently Asked Questions
What’s the one setting that most improves safari photos?
A fast shutter speed. The most common safari photography failure is motion blur, so keeping your shutter speed fast (at least 1/500, faster for movement) and raising ISO to allow it fixes more shots than anything else. A sharp, slightly grainy image always beats a clean but blurry one.
What camera settings are best for safari photography?
Prioritise a fast shutter speed (at least 1/500, faster for movement), a wide aperture (low f-number) for light and background blur, and a raised ISO as needed to achieve both. Use a priority mode (Shutter or Aperture Priority), continuous autofocus on the animal’s eye, and burst mode. A sharp image at high ISO beats a blurry one at low ISO.
What shutter speed should I use on safari?
At least 1/500 second for still animals, 1/1000 or faster for movement, and 1/2000+ for fast action like birds in flight. A guideline is to keep shutter speed at least equal to your focal length. When in doubt, go faster — motion blur can’t be fixed later.
Should I use manual or automatic mode on safari?
For beginners, a semi-automatic priority mode is best — Shutter Priority to control sharpness or Aperture Priority (often with Auto ISO and a minimum shutter speed) to balance everything. Full manual is powerful but too slow for fast-moving safari moments. Avoid full auto, which makes poor choices in tricky light.
How do I get sharp wildlife photos?
Use a fast shutter speed, continuous autofocus tracking the animal’s eye, a single or small cluster of focus points placed precisely, and shoot in bursts. Steady your lens on a bean bag, and don’t fear high ISO — a sharp grainy shot beats a clean blurry one. Sharp eyes are the key to a successful wildlife image.
What’s the best time of day for safari photography?
The golden hours just after sunrise and before sunset, when light is warm, soft and low — and conveniently when animals are most active. Harsh midday light is flat and unflattering, so rest then. A safari’s morning and late-afternoon game-drive rhythm aligns perfectly with the best light.
Settings mastered — now apply them. Continue with our guides to camera gear, photographing the Big Five, and the complete Laikipia wildlife photography guide.